
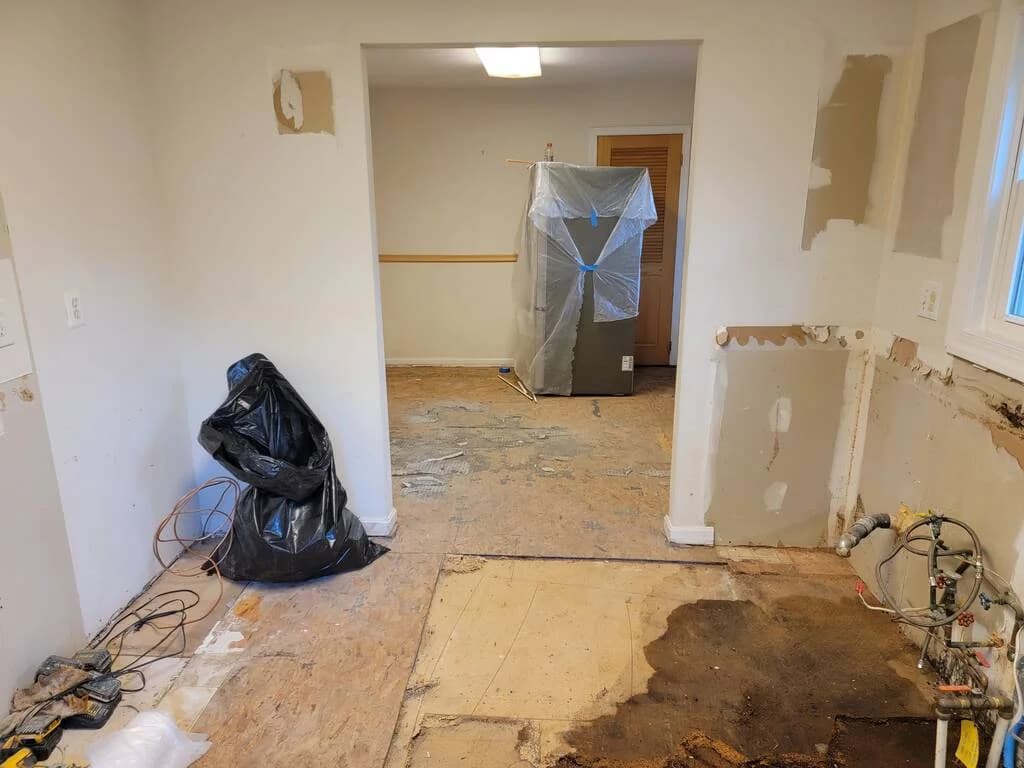
Kitchen water damage develops when water from a supply line, drain, appliance, or fixture reaches cabinets, flooring, or subfloor materials in the kitchen. The kitchen sink area sustains the majority of this damage because it concentrates several water sources, including the supply lines, the drain trap, and the dishwasher connection, within one enclosed cabinet space. Left unaddressed, kitchen water damage swells particleboard cabinet bases, stains flooring, and creates conditions for mold growth within 24 to 48 hours. Identifying the signs early, repairing the leak source and the damaged cabinetry, and applying preventive measures limits the scope of repair and protects the surrounding structure.
Signs of Water Damage in a Kitchen
Kitchen water damage produces visible and physical warning signs before structural repair becomes necessary.
- Swollen cabinet base: A raised or distorted panel at the bottom of the sink cabinet where water pools after a leak.
- Discoloration or staining: Marks on cabinet interiors, toe-kicks, or nearby flooring that point to repeated moisture exposure rather than a single spill.
- Soft or bubbling flooring: Flooring near the sink that has softened or lifted, signaling that water has penetrated beneath the surface material and reached the subfloor.
- Musty odor: A smell coming from under the sink or along the base cabinets that indicates active mold or mildew growth within an enclosed, damp space.
- Warped baseboards or peeling laminate: Distortion on cabinet doors or countertop edges confirming that moisture has been present long enough to affect the underlying wood or particleboard substrate.
Common Causes of Kitchen Water Damage
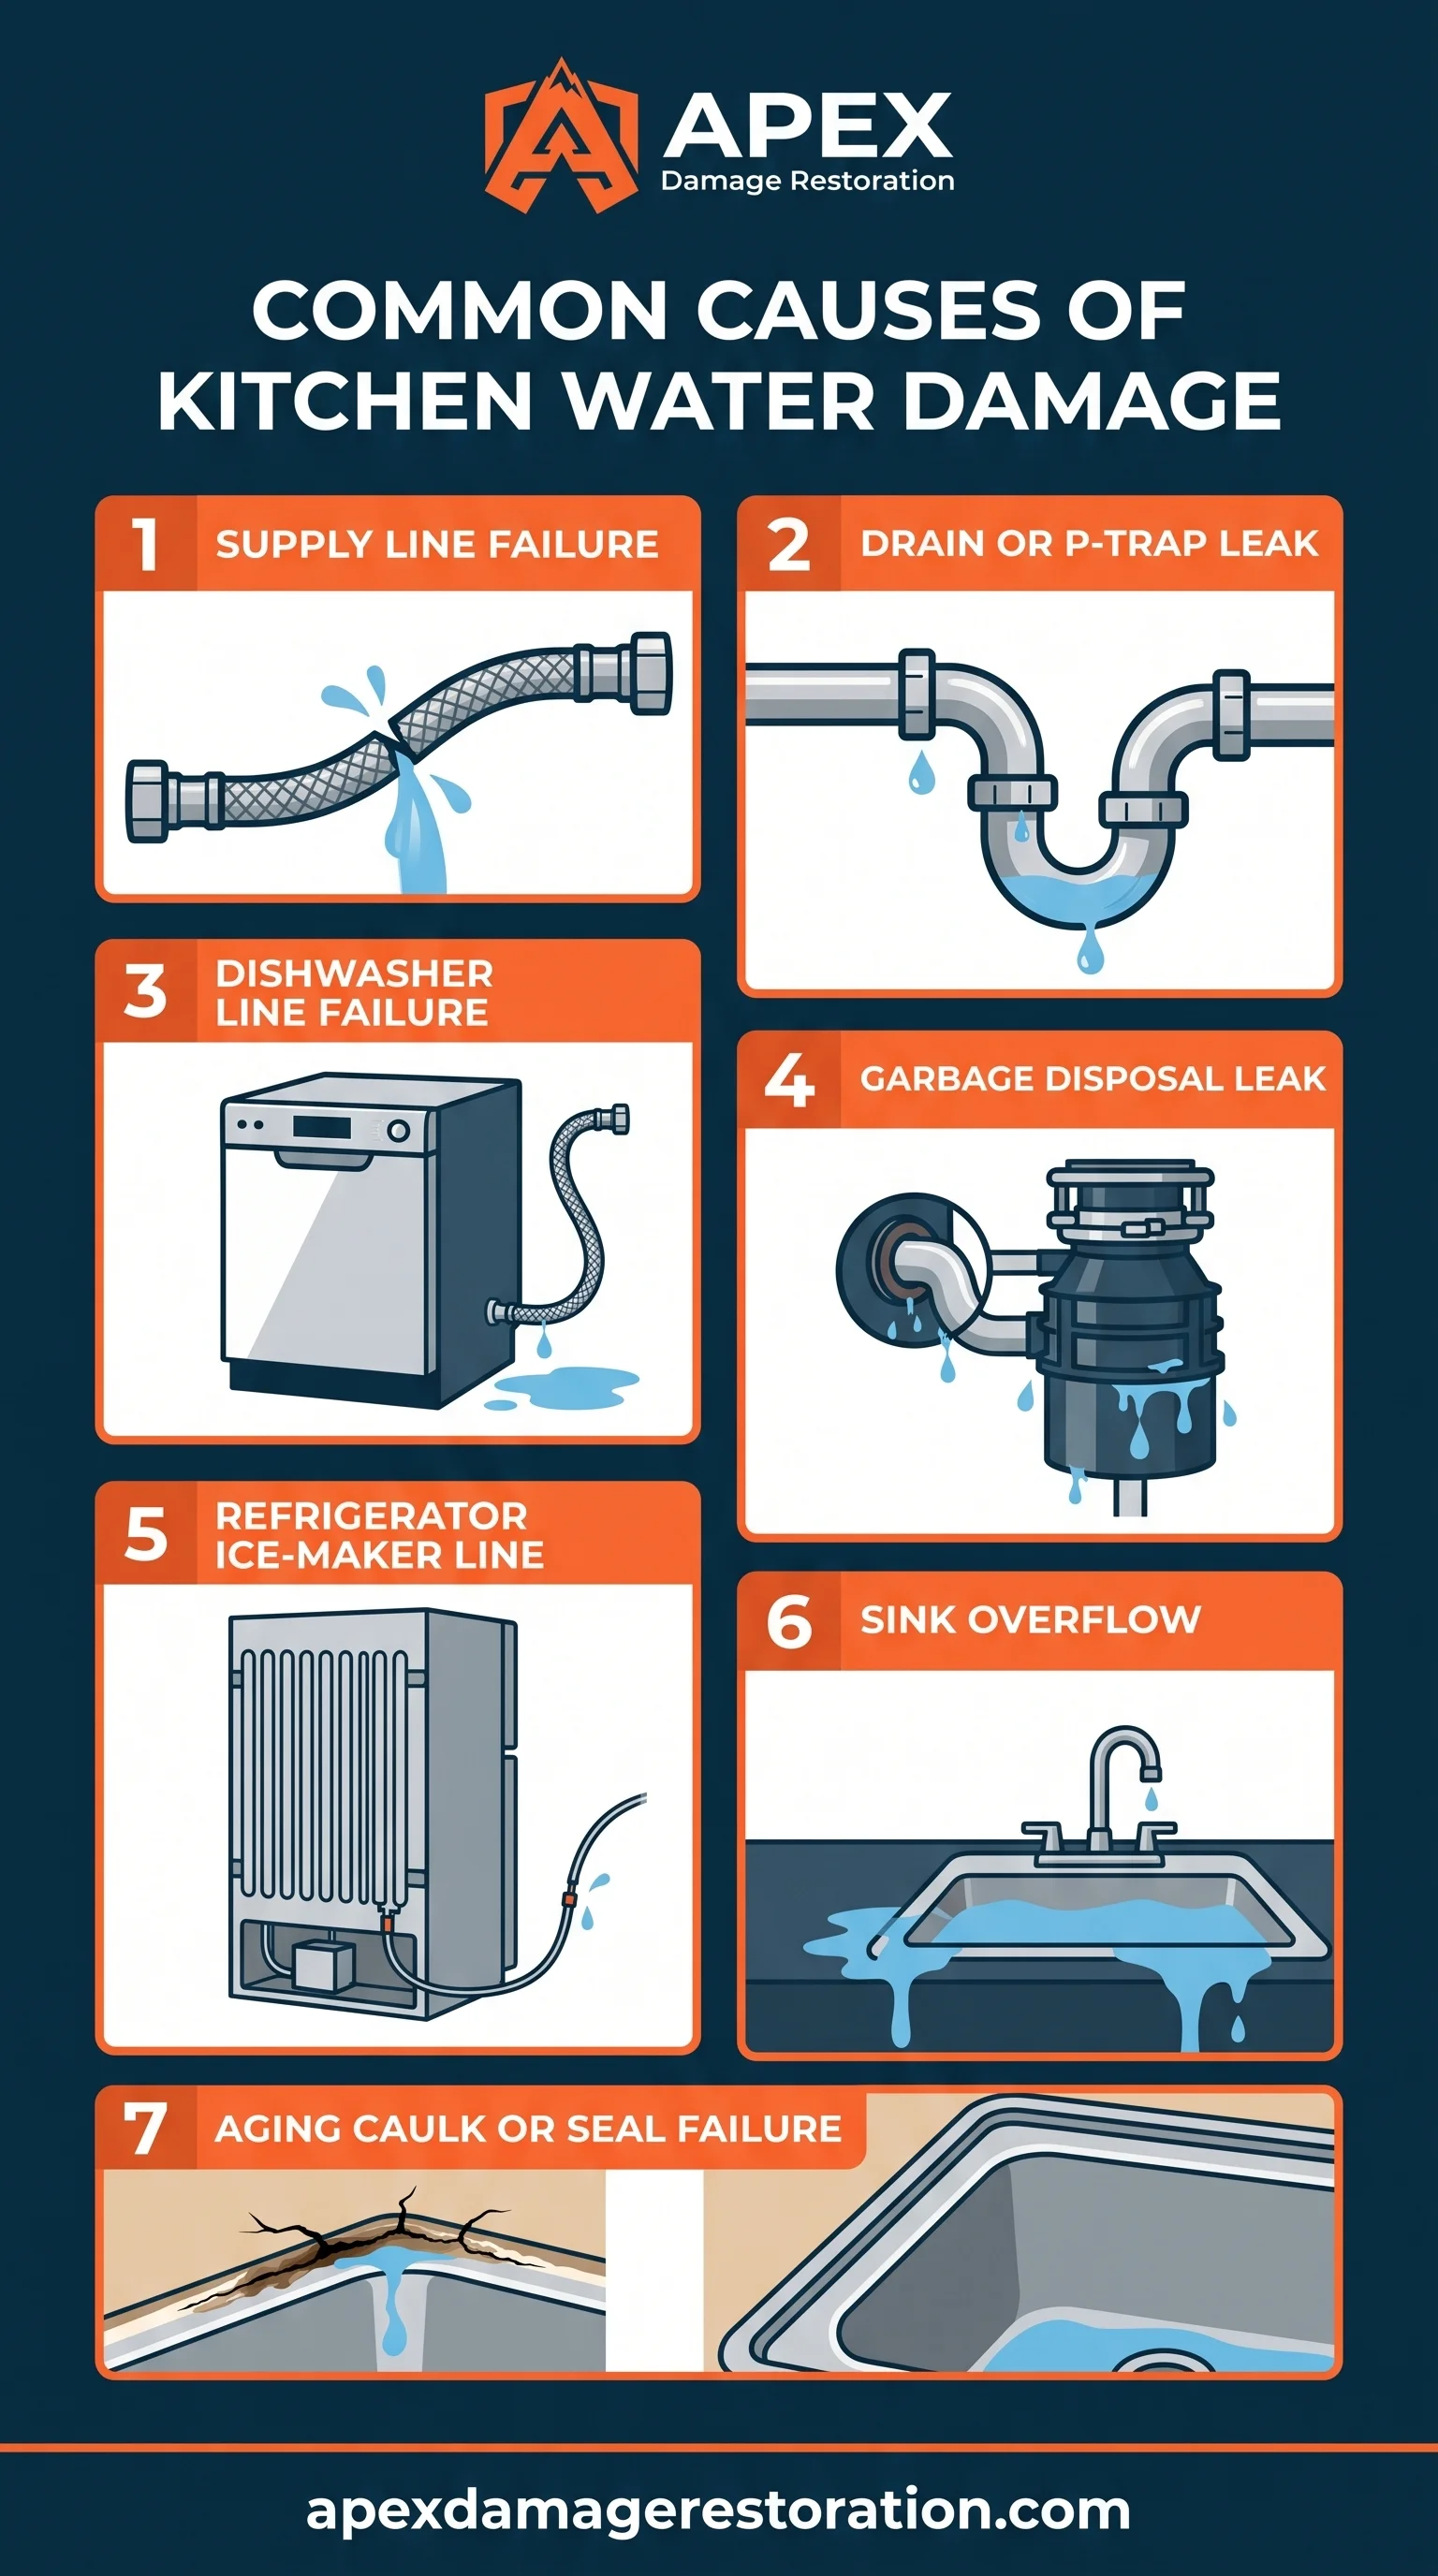
Kitchen water damage originates from a small number of recurring failure points within the sink cabinet and appliance connections. Identifying the source determines both the repair approach and whether the damage falls under a burst pipe or appliance leak claim category.
- Supply line failure: A cracked or disconnected water supply line under the sink releases water continuously until the shutoff valve is closed.
- Drain or P-trap leak: A loose or corroded P-trap connection allows wastewater to leak with every use of the sink.
- Dishwasher line failure: A worn dishwasher supply or drain hose leaks into the adjacent cabinet during each wash cycle.
- Garbage disposal leak: A cracked disposal unit or loose mounting gasket leaks at the connection points beneath the sink.
- Refrigerator ice-maker line: A punctured or improperly connected ice-maker line leaks slowly behind or beside the refrigerator cabinet.
- Sink overflow: A blocked drain combined with a running faucet overflows onto the countertop and into the base cabinet.
- Aging caulk or seal failure: Deteriorated caulk around the sink basin or countertop edge allows daily-use water to seep into the cabinet below.
How to Repair Water Damage Under a Kitchen Sink
To repair water damage under a kitchen sink, shut off the water supply valve first, then locate and stop the specific leak source before addressing the surrounding cabinet material.
- 1Turn the shutoff valves clockwise beneath the sink to stop water flow to the fixture.
- 2Inspect the supply lines, P-trap, and disposal connections for moisture, corrosion, or visible cracks to locate the leak source.
- 3Remove the cabinet base panel or affected shelving to expose the full extent of the wet area.
- 4Dry the cavity with a fan or a dehumidifier, running it continuously until the wood and surrounding materials no longer register moisture on a moisture meter.
- 5Press on the flooring beneath the cabinet to assess the subfloor for rot; soft or spongy sections indicate the subfloor requires replacement rather than drying.
- 6Replace the failed supply line or P-trap with a new fitting rated for the existing plumbing connections.
- 7Reseal the repaired connections and reinstall the cabinet base panel once the cavity has fully dried.
How to Repair Water-Damaged Kitchen Cabinets
To repair water-damaged kitchen cabinets, the correct method depends on whether the cabinet material is particleboard or solid wood and whether the swelling is cosmetic or structural. The following table compares how each material responds to water exposure and the repair approach each one requires.
| Cabinet Material | Swelling Behavior | Repair Approach |
|---|---|---|
| Solid wood | Swells temporarily; largely returns to shape once dry | Sand, fill, and refinish |
| Particleboard | Swells permanently; does not return to its original shape | Panel replacement |
For minor swelling on solid-wood cabinets, sand the affected area down to a level surface, apply wood filler where needed, and refinish with matching stain or paint. Cabinet doors represent a separate failure point from the cabinet box; a swollen or delaminated door panel is typically replaced independently rather than repaired, since door panels are thinner and swell more readily than structural cabinet sides. Apply a moisture-resistant sealant to any repaired or replacement panel before returning the cabinet to service.
Whether the cabinet needs cosmetic repair or structural replacement depends on the condition of the base, side panels, and toe-kick after drying.
| Condition After Drying | Repair Type |
|---|---|
| Swelling limited to surface finish; panel retains shape and rigidity | Cosmetic repair (sand, fill, refinish) |
| Cabinet base or toe-kick remains warped or distorted | Structural replacement |
| Delamination, crumbling particleboard, or persistent softness | Structural replacement |
How to Prevent Water Damage to Kitchen Cabinets
Preventing water damage to kitchen cabinets requires routine inspection of the plumbing connections and physical protection of the cabinet materials most exposed to moisture.
- Inspect monthly: Check supply lines, the P-trap, and the disposal unit under the sink for moisture, corrosion, or loose fittings.
- Install cabinet liners: Line the base and lower side panels of the sink cabinet with a moisture-resistant liner to create a barrier against incidental moisture.
- Seal cabinet base edges: Seal the seam where the cabinet meets the flooring to prevent water from wicking into exposed particleboard edges.
- Replace supply lines every 5 to 7 years: Rubber and braided lines degrade over time even without visible signs of wear.
- Install leak-detection sensors: Place sensors on the cabinet floor near the supply lines and P-trap to trigger an alert before a slow leak causes visible swelling.
- Clean up spills promptly: Standing water left near cabinet edges is a primary source of gradual caulk and sealant failure.
DIY Repair vs. Professional Kitchen Water Damage Restoration
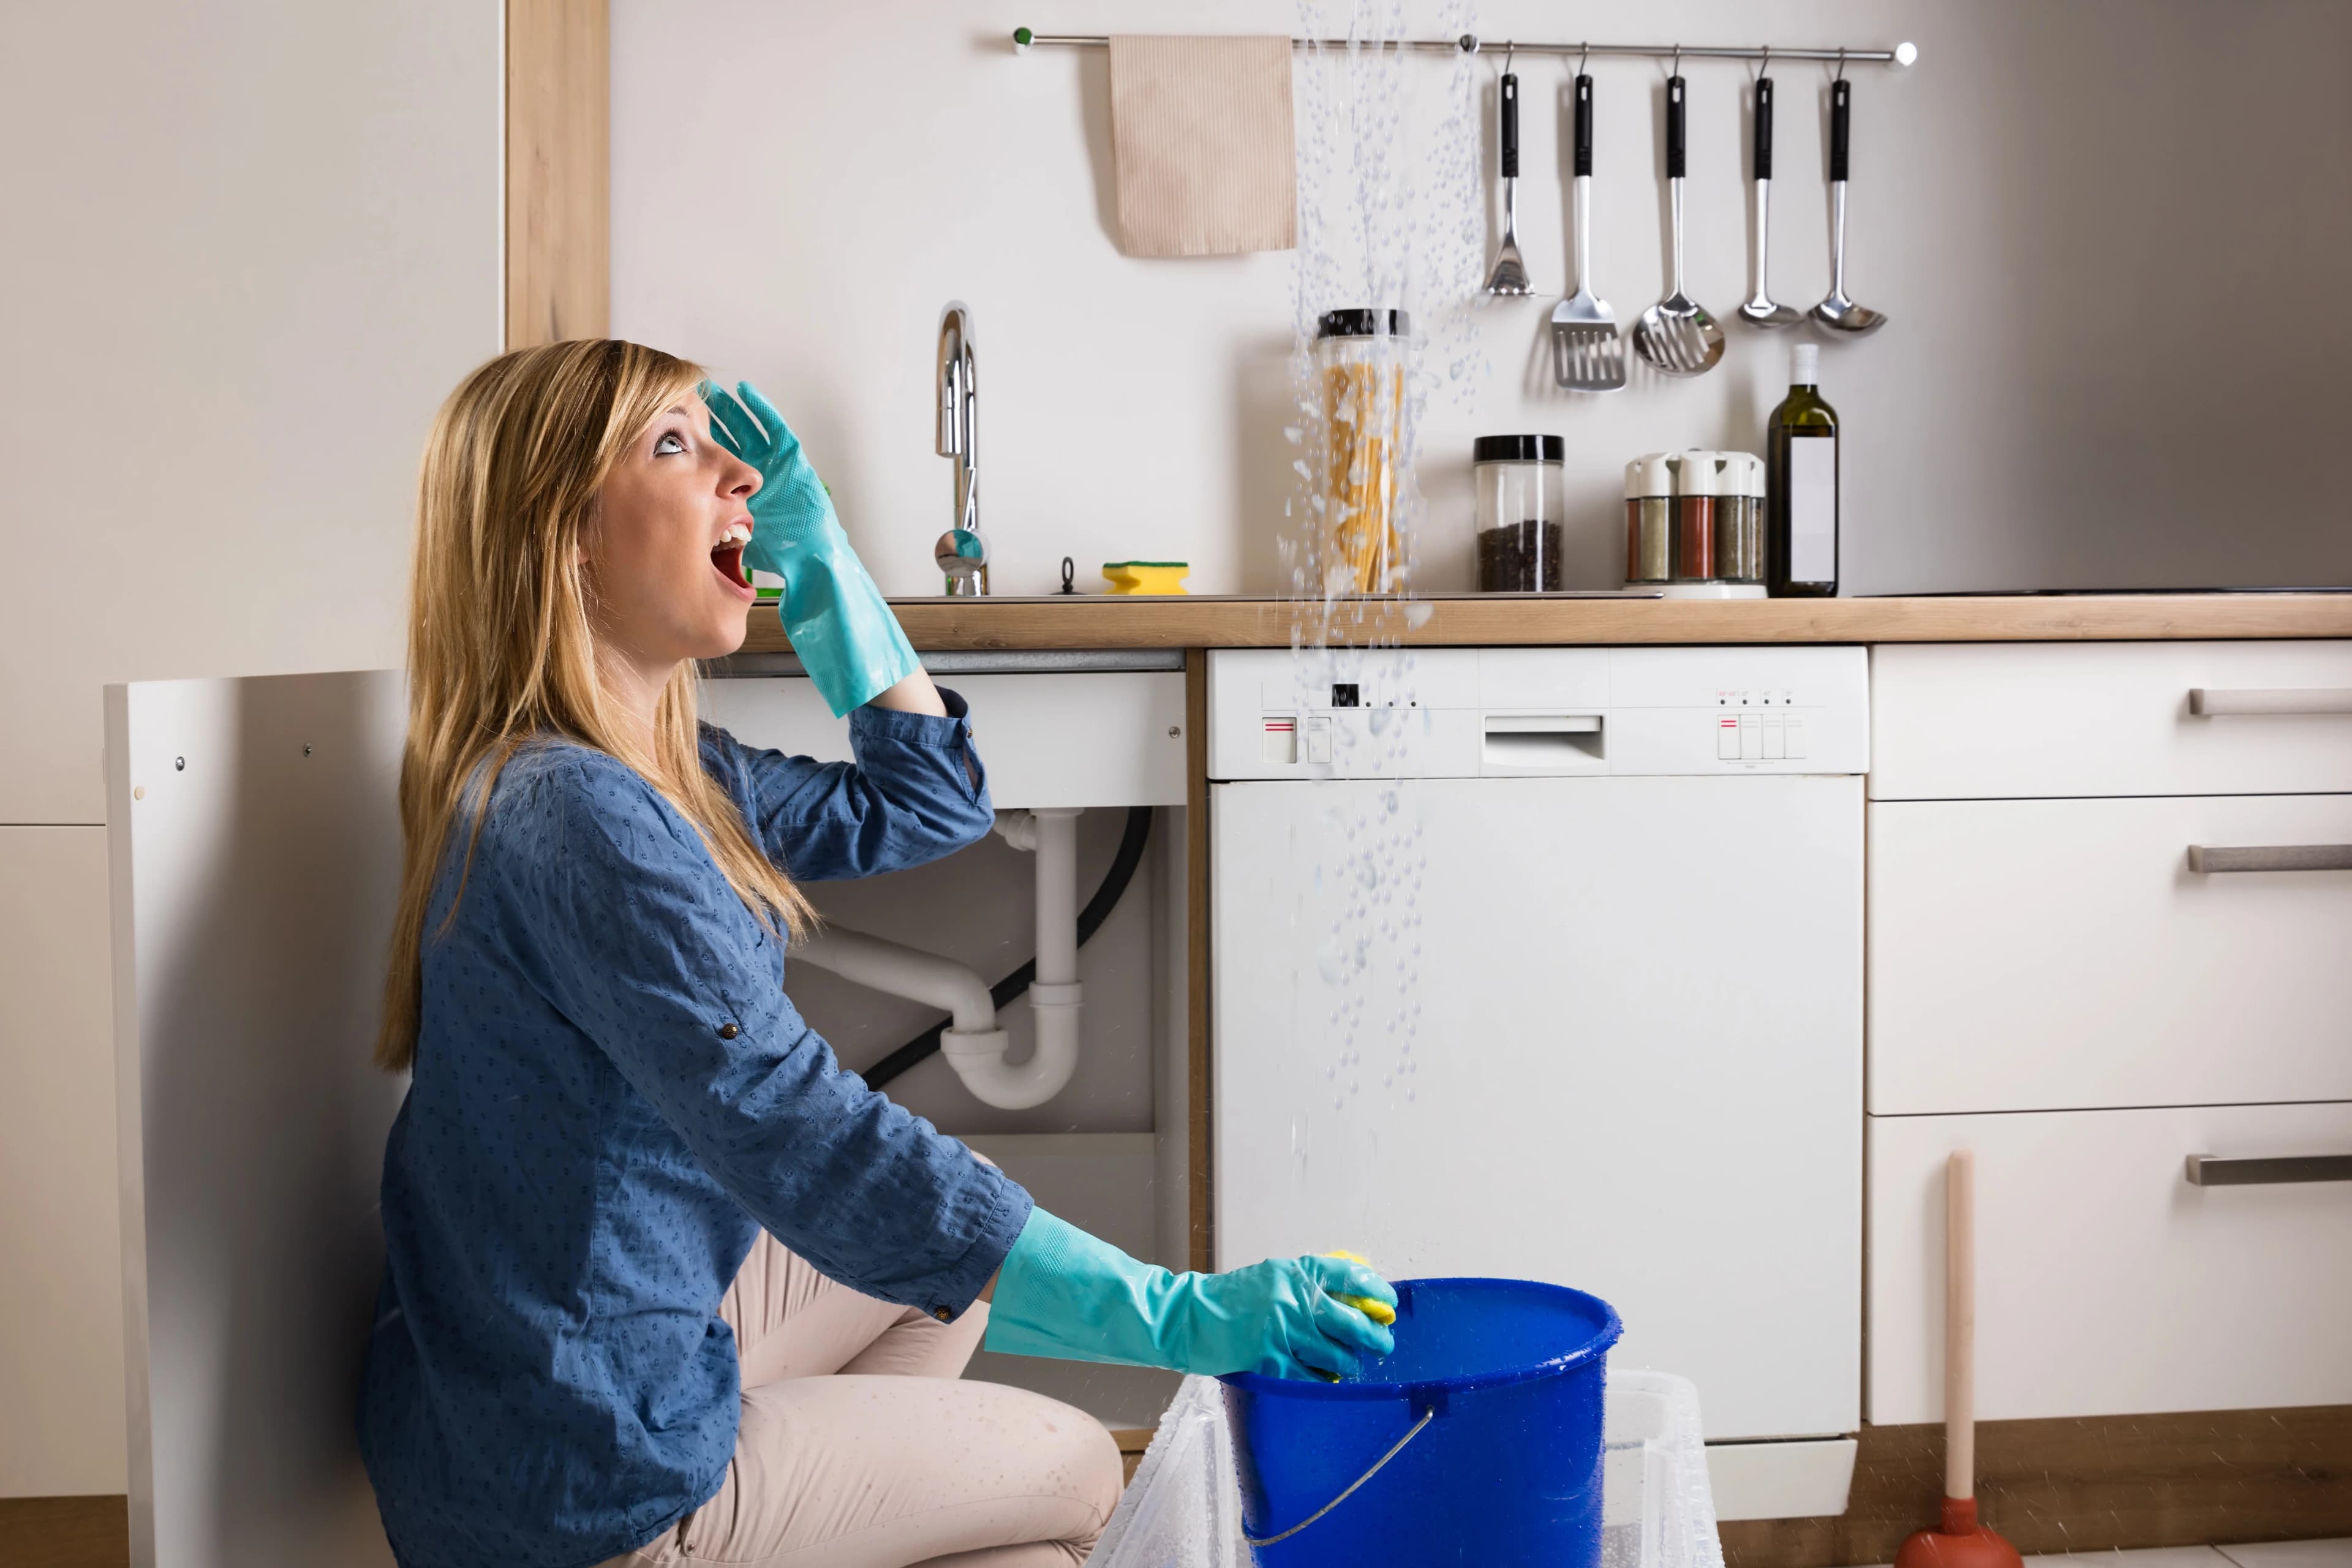
Whether kitchen water damage requires DIY repair or professional restoration depends on the extent of moisture penetration and the condition of the subfloor. Surface staining on a cabinet interior or minor swelling on a door panel typically falls within the scope of a DIY repair, requiring sanding, refinishing, or a single panel replacement. Subfloor rot, delaminated cabinet structure, or water damage that has spread beyond the immediate sink cabinet indicates a scope beyond typical DIY tools and materials. Mold risk increases significantly once materials remain wet for 24 to 48 hours, at which point professional assessment reduces the chance of hidden mold growth behind cabinets or under flooring. Professional drying equipment, including industrial air movers and dehumidifiers paired with moisture meters, removes moisture from wall cavities and subfloor material more thoroughly than household fans. Cost and time tradeoffs favor DIY repair for contained, surface-level damage, while professional restoration reduces long-term risk and total repair cost when water has reached the subfloor or spread to adjacent areas.
Apex Damage Restoration provides 24/7 emergency response for kitchen water damage throughout the Aurora, CO area, with IICRC-trained technicians who assess subfloor and cabinet damage, extract standing water, and coordinate directly with insurance carriers. For a complete overview of the restoration process, see the water damage restoration guide.
Insurance Coverage for Kitchen Water Damage
Homeowners insurance typically covers kitchen water damage when the leak is sudden and accidental, such as a burst supply line, rather than the result of long-term neglect or gradual seepage. Coverage determinations depend on the specific policy terms and the classification of the leak as sudden versus gradual damage. For a full explanation of how insurers evaluate kitchen water damage claims, see the water damage insurance guide and the homeowners insurance coverage page.
Need Emergency Restoration Help Today?
Call Apex Damage Restoration now for fast priority dispatch across Aurora, CO, a written estimate before work begins, and direct insurance claims assistance.