
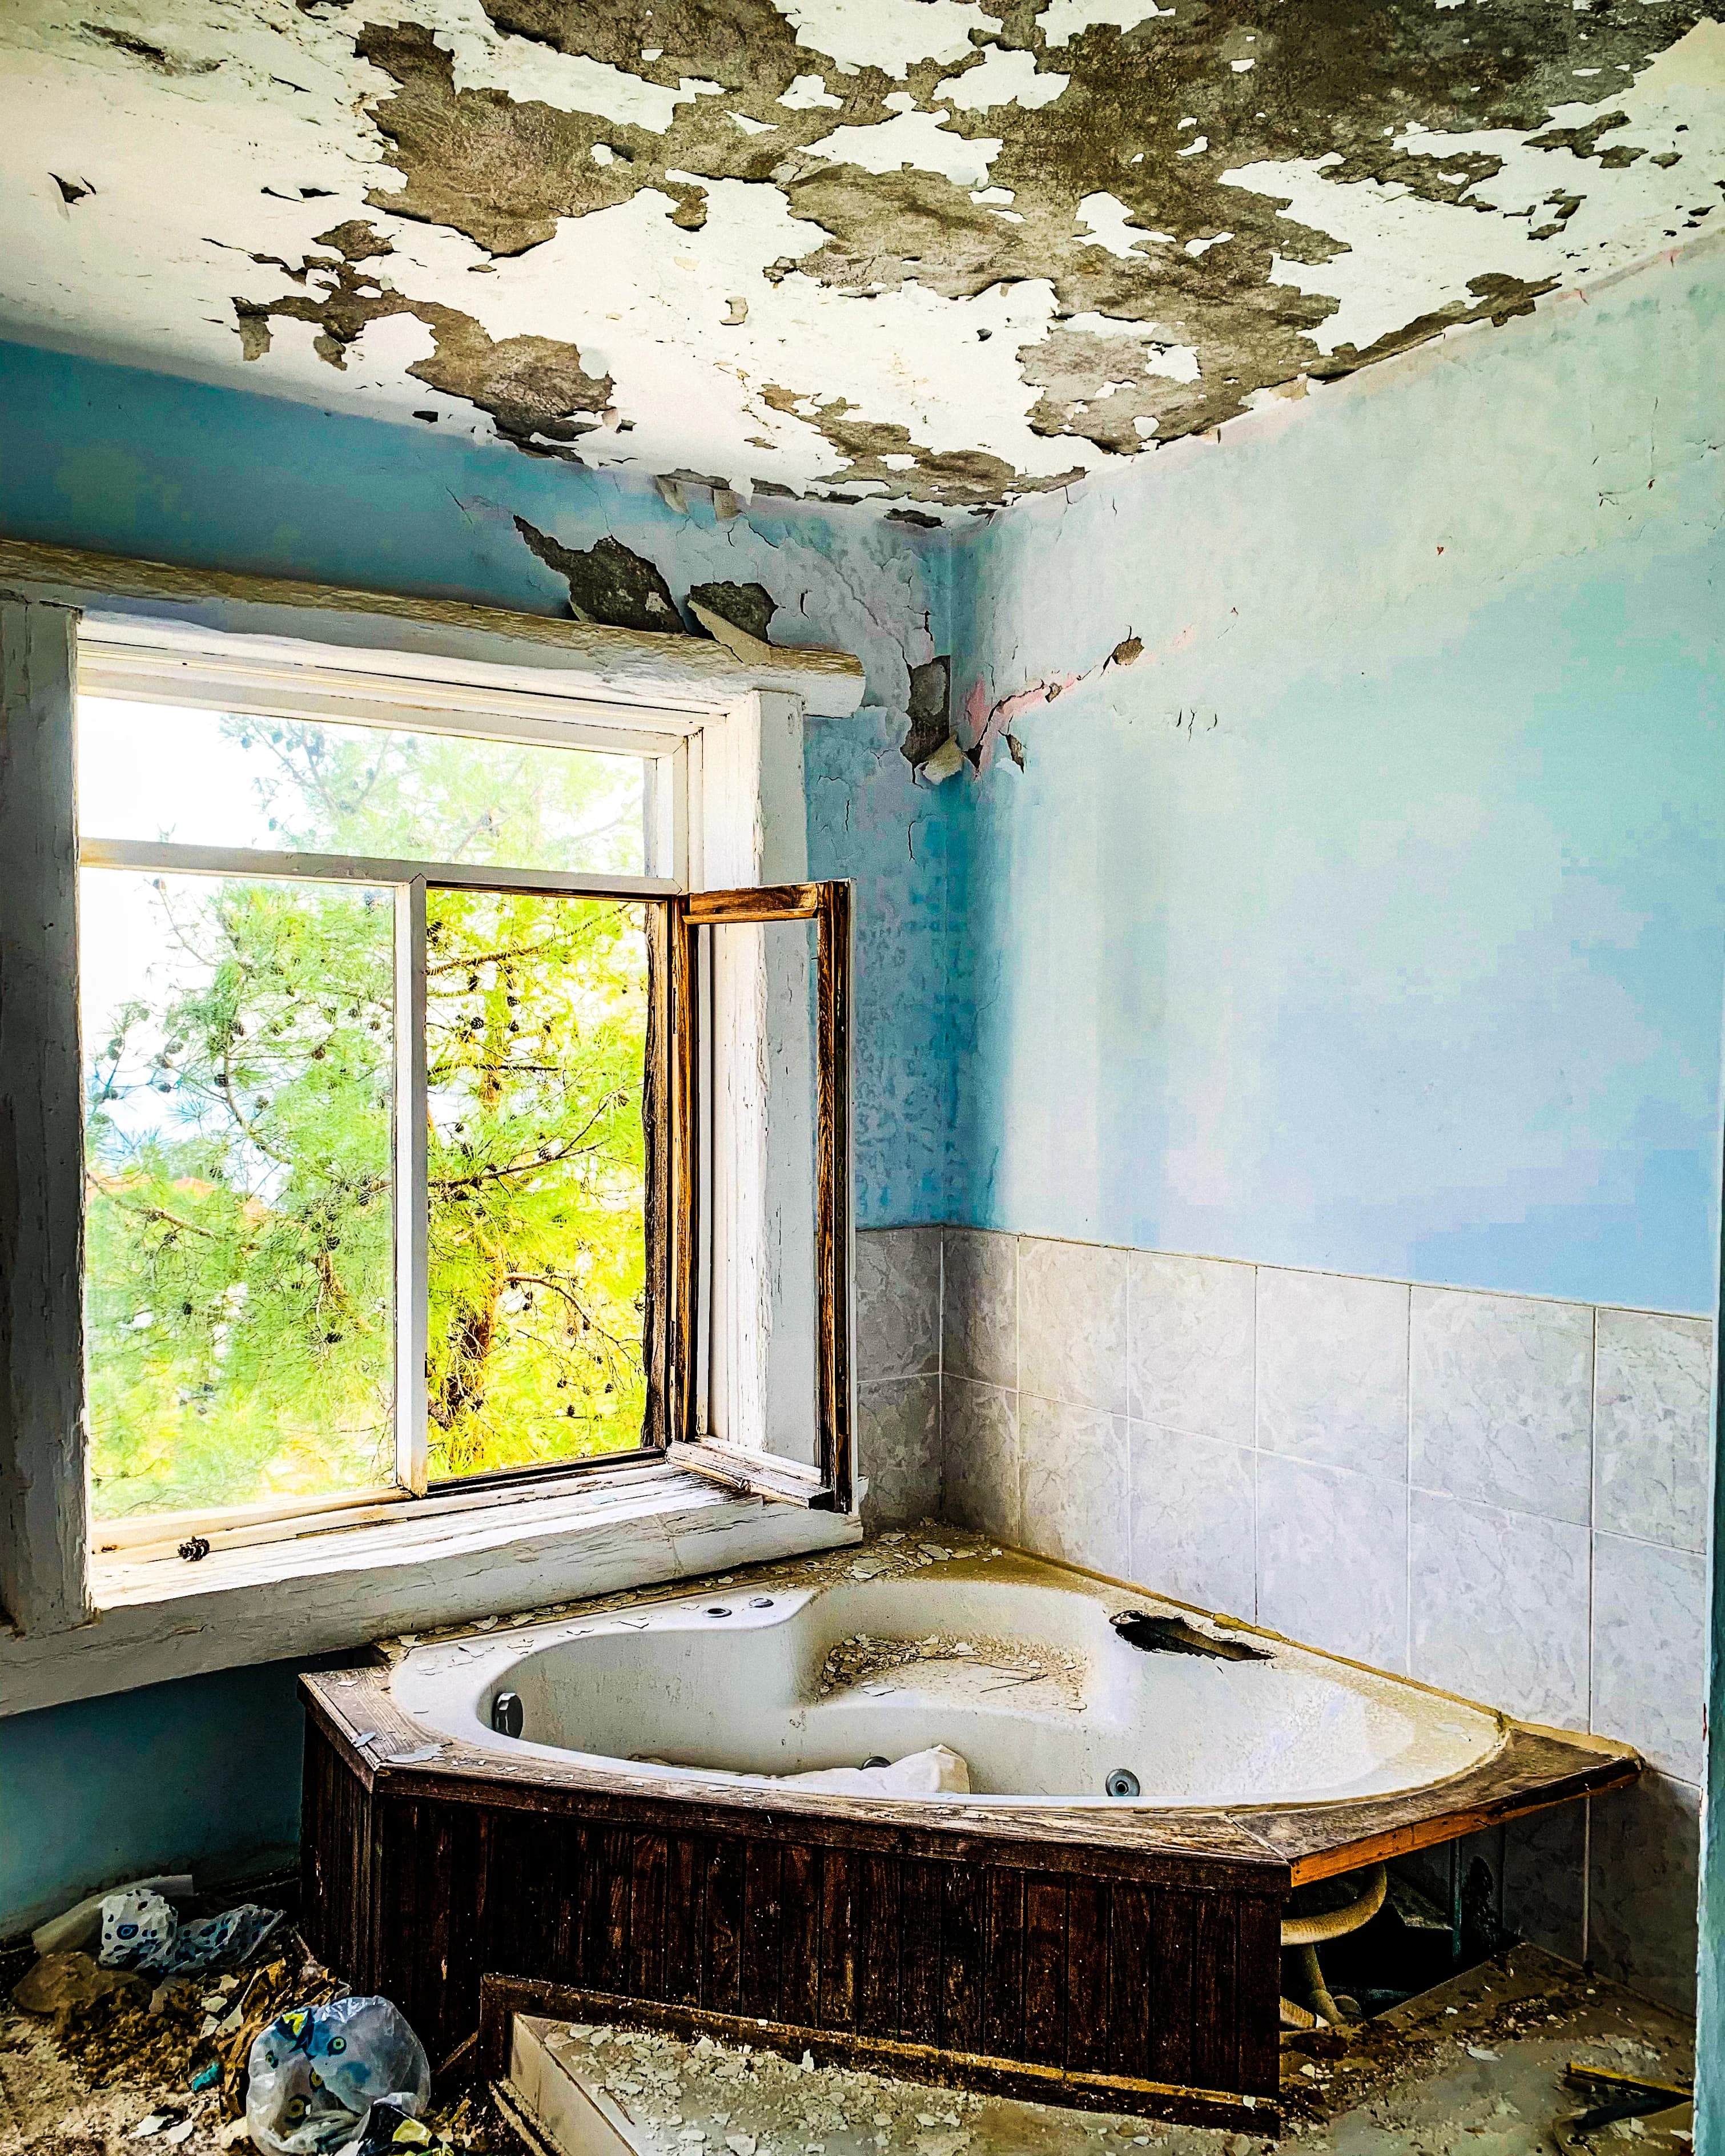
Bathroom water damage occurs when leaking fixtures, failed seals, or excess moisture saturate the floor, walls, cabinets, or vanity in a bathroom. The bathroom is the room most exposed to repeated water contact in a home, so damage here often affects more than one component at once, from subfloor rot to swollen cabinet panels. Repair scope and cost depend on which component is affected, how long moisture was present, and whether mold has developed. This guide covers the causes of bathroom water damage, repair steps by component, typical cost ranges, insurance treatment, and prevention.
What Causes Water Damage in a Bathroom?
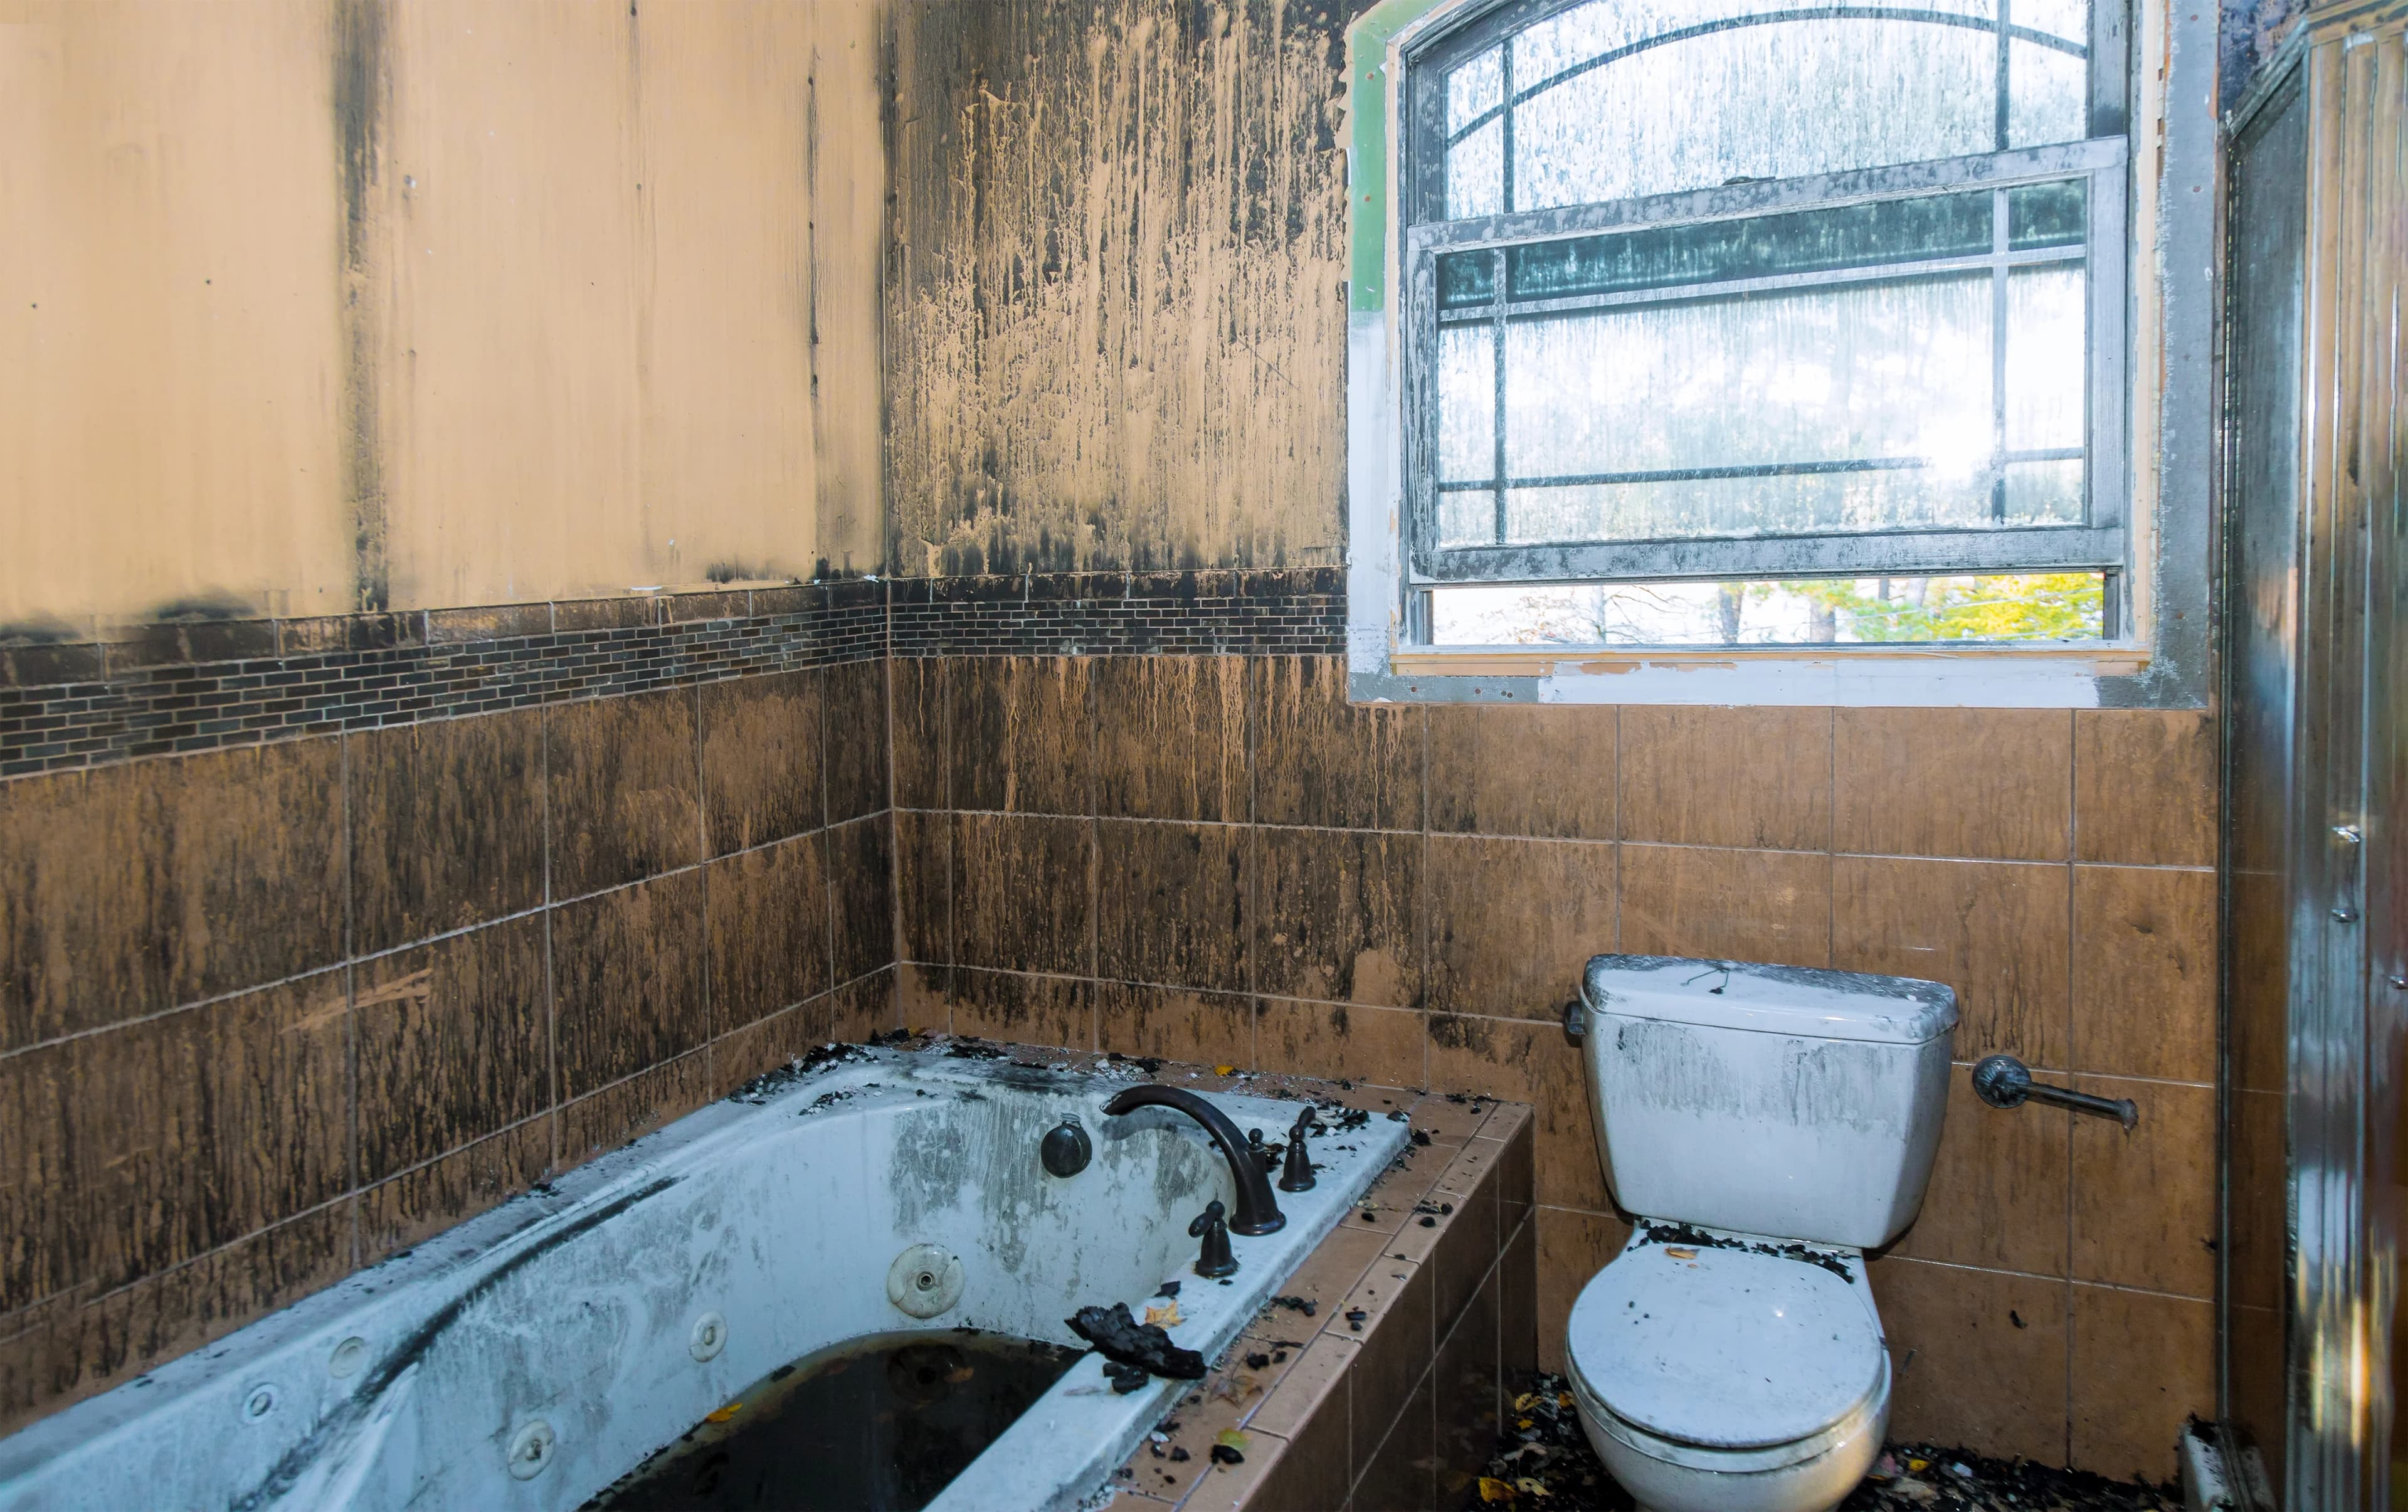
Bathroom water damage is caused by leaking supply lines, failed seals around fixtures, and chronic moisture from inadequate ventilation. The most common sources include:
- Supply line leaks: Water lines under the sink or behind the toilet develop slow drips at aging connections or worn washers.
- Shower pan or tub seal failure: A cracked shower pan or degraded tub seal allows water to seep into the subfloor with each use.
- Grout and caulk breakdown: Cracked grout lines and deteriorated caulk around tile and fixtures let water reach the wall cavity or subfloor.
- Toilet flange or wax ring failure: A failed wax ring at the toilet base leaks water under the floor with every flush.
- Poor ventilation and condensation: Bathrooms without adequate exhaust fans trap humidity, and repeated condensation saturates walls and cabinets over time.
- Fixture overflow: An overflowing tub, sink, or toilet releases a large volume of water in a short period, saturating flooring and cabinetry.
- Upstairs bathroom leaks: A leak in a second-floor bathroom travels through the subfloor and appears as ceiling damage in the room below.
Each cause produces a different damage pattern. A slow supply line leak concentrates damage under a cabinet or vanity, while a shower pan failure or grout breakdown spreads moisture across the floor and into adjacent walls.
How to Repair Bathroom Water Damage by Component
Bathroom water damage repair varies by component because floors, walls, cabinets, and vanities respond to water differently and require different materials and techniques. The sections below cover repair steps for each affected component.
Repairing a Water-Damaged Bathroom Floor
To repair a water-damaged bathroom floor, identify the extent of subfloor saturation, remove damaged material, dry the area fully, and replace the subfloor and flooring surface. Start with a moisture meter reading to confirm how far the water has spread beneath the visible flooring, since surface damage often understates the extent of subfloor saturation.
Tile, vinyl, and laminate respond differently to water exposure. Tile itself resists water, but water trapped beneath it rots the underlying subfloor even when the tile surface looks intact. Vinyl flooring can trap moisture against the subfloor and show curling or bubbling at the seams. Laminate flooring swells and delaminates on contact with standing water and typically requires full replacement rather than drying in place.
A small, contained wet spot on solid plywood subfloor with no discoloration or soft spots can sometimes be dried in place using fans and a dehumidifier over 48 to 72 hours. Subfloor that has darkened, softened, or developed a musty odor requires removal and replacement, since these signs indicate rot or active mold growth that drying alone will not reverse. After the subfloor is replaced and allowed to dry to a stable moisture content, matching tile or flooring material is installed to complete the repair.
Fixing Water Damage in a Bathroom Wall
To fix water damage in a bathroom wall, inspect the wall cavity and framing for saturation, remove and replace damaged materials, and reseal tile or fixtures to prevent recurrence. Begin by checking the wall cavity behind the affected area for wet insulation and soft or discolored studs, since framing damage changes the repair from a surface patch to a structural repair.
Tile surrounds require removing loose or cracked tile to access the wall behind it. Saturated insulation does not dry effectively in place and should be replaced, since compressed or wet insulation loses its thermal value and can support mold growth. Once the cavity is dry and any damaged framing is addressed, grout and caulk around the tile or fixture are resealed to close the pathway that allowed water intrusion.
Tile surrounds and wall cavities in bathrooms are also common locations for mold growth behind the surface, since moisture can remain trapped against the wall for extended periods without a visible sign. When water damage extends beyond the tile surround into the surrounding drywall, the drywall repair itself follows the same process as drywall water damage repair in any room of the home.
Repairing a Water-Damaged Bathroom Cabinet
To repair a water-damaged bathroom cabinet, remove swollen or delaminated panels, dry the cabinet frame, and replace damaged sections or the full unit depending on the extent of swelling. Bathroom cabinets are commonly built from particleboard or MDF, both of which absorb water quickly and swell along exposed edges and seams.
Base panels affected by prolonged moisture exposure delaminate, meaning the layered material separates and loses structural integrity. Doors and shelves exposed to splashing or standing water warp and no longer close or sit flush. A cabinet with swelling limited to a small edge or corner can sometimes be repaired by cutting out and replacing the affected panel section, sealing the exposed edge, and refinishing to match. Cabinets with swelling across multiple panels, a warped frame, or a musty odor typically require full replacement, since particleboard does not regain its original strength once saturated.
Fixing a Water-Damaged Bathroom Vanity
To fix a water-damaged bathroom vanity, address swelling at the sink cutout, replace the cabinet base if saturated, and repair or replace lifted laminate. A bathroom vanity differs from a general storage cabinet because its primary point of failure is the sink cutout, where water from splashing, condensation on the underside of the sink, or a slow supply-line drip collects and swells the surrounding material first.
Laminate lifting at the seams is an early sign of vanity water damage and indicates moisture has penetrated beneath the surface layer. A slow drip from a supply line or drain connection under the sink often goes unnoticed for weeks, allowing water to pool at the base of the cabinet before any visible swelling appears elsewhere. Vanities with damage limited to the sink cutout area can sometimes be repaired by cutting out and resealing the affected section. Vanities with a saturated cabinet base or extensive laminate lifting generally require replacing the base cabinet or the full vanity unit, since the sink cutout is a structural stress point that does not hold repairs well once compromised.
Bathroom Drywall and Ceiling Water Damage
Bathroom walls and ceilings sometimes sustain drywall damage in addition to tile or fixture damage, particularly around showers and tubs where splashing is frequent. Drywall repair in a bathroom follows the same cutting, drying, and patching process used for water-damaged drywall in any room, with additional attention to moisture-resistant board near wet areas.
Bathroom ceiling damage is most often caused by a leak or overflow from a bathroom directly above rather than a source within the bathroom itself. The repair approach for a bathroom ceiling follows the same process outlined in ceiling water damage repair, which addresses staining, sagging, and structural drying specific to ceilings.
Cost to Repair Bathroom Water Damage, by Component
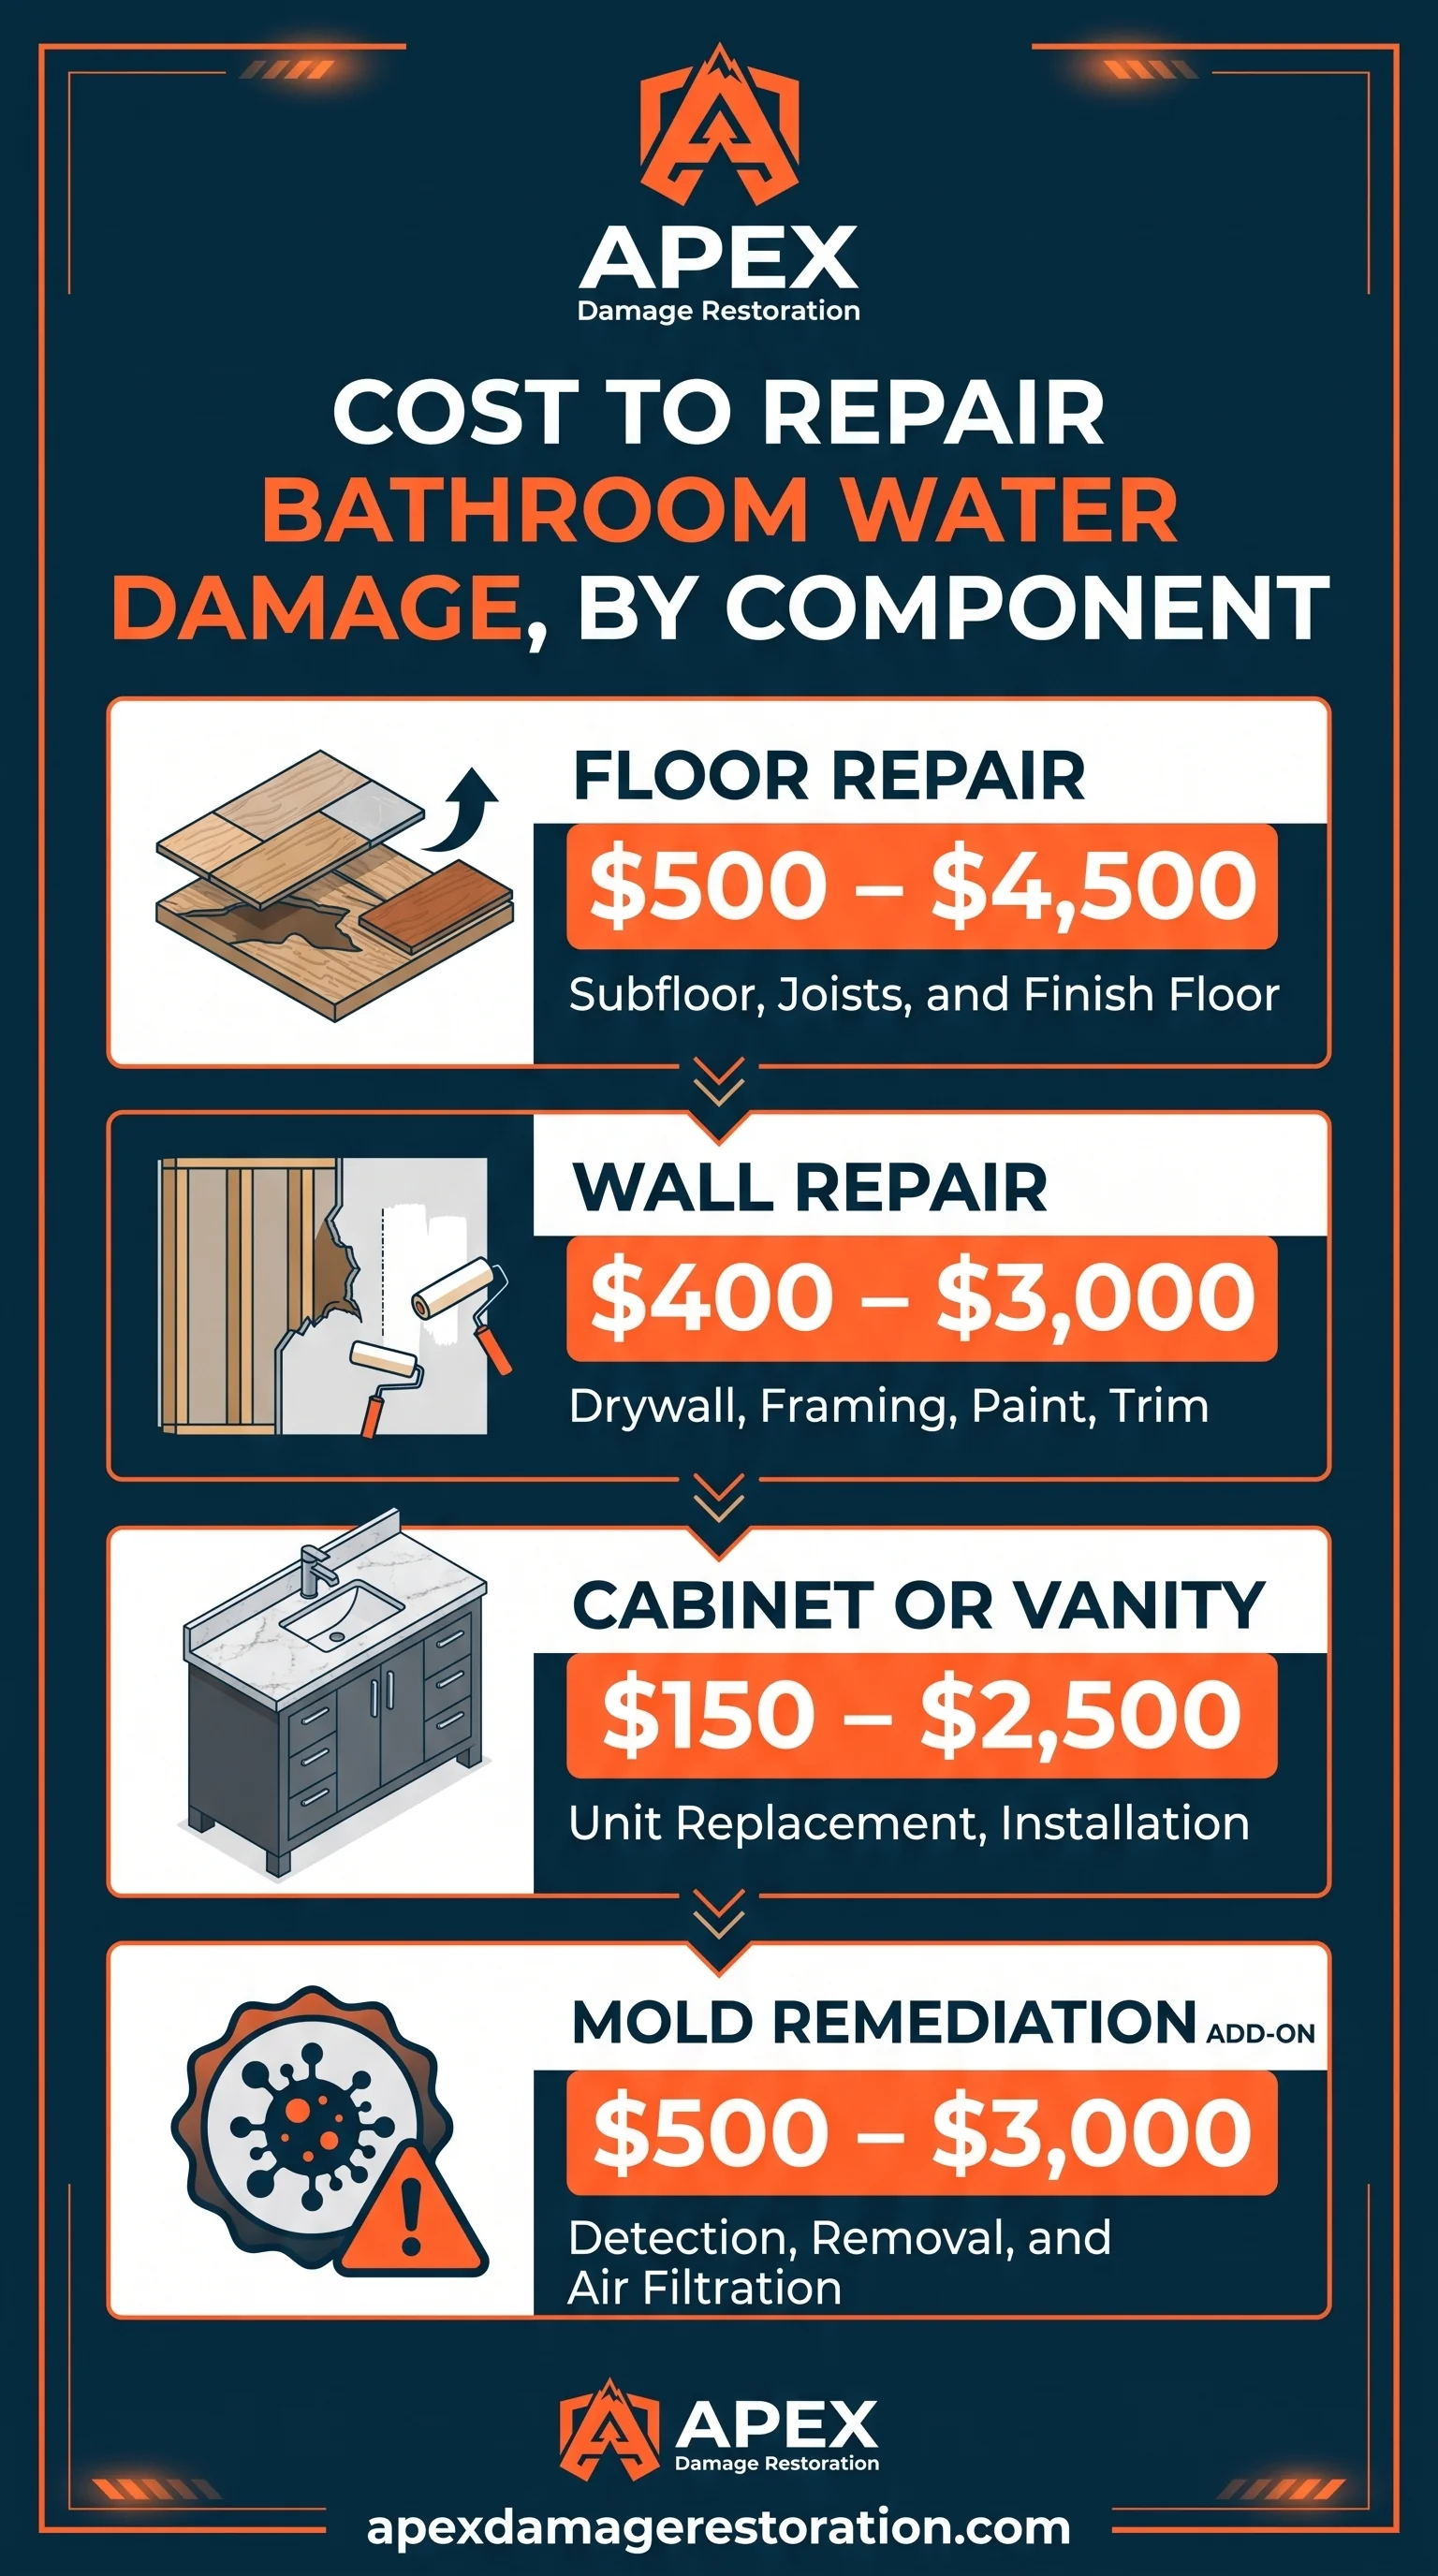
Bathroom water damage repair costs range from an estimated $300 to $8,000 or more depending on which component is affected and whether mold remediation is required. Cosmetic, surface-level damage limited to one component costs less than repairs involving structural drying, subfloor replacement, or mold removal.
As an industry estimate, cost typically breaks down as follows:
- Floor repair: An estimated $500 to $4,500, depending on whether the subfloor requires full replacement and whether tile matching is needed.
- Wall repair: An estimated $400 to $3,000, with cost rising when framing or insulation replacement is required.
- Cabinet or vanity repair: An estimated $150 to $2,500, ranging from a single panel replacement to a full cabinet or vanity swap.
- Mold remediation add-on: An estimated $500 to $3,000 when mold has developed in the wall cavity, under flooring, or inside cabinetry, added on top of the base repair cost.
Labor typically accounts for a larger share of the total cost than materials, particularly for demolition, drying, and subfloor work. Matching existing tile or flooring to an undamaged section of the bathroom can add a noticeable premium when the original product is discontinued or difficult to source. These figures are industry estimates and vary by region, contractor, and the extent of damage discovered once repair work begins.
Does Homeowners Insurance Cover Bathroom Water Damage?
Homeowners insurance typically covers bathroom water damage when the source is sudden and accidental, such as a burst supply line or a toilet overflow, but it generally excludes damage caused by gradual leaks or deferred maintenance. This distinction between sudden and gradual water damage determines whether a bathroom claim is approved or denied.
A burst supply line under the sink or a one-time toilet or tub overflow is generally treated as a covered, sudden event. A slow leak at a supply line connection or a failed shower pan that has been leaking for months is generally treated as gradual damage resulting from a maintenance issue the homeowner could have addressed, and most policies exclude this type of loss. Insurers commonly cite unresolved slow leaks, long-term condensation damage, and pre-existing mold as exclusions specific to bathroom claims, since these causes point to ongoing conditions rather than a single accidental event.
Homeowners filing a bathroom water damage claim should document the source of the leak, the date it was discovered, and photos of the affected components before repairs begin, since insurers use this documentation to determine whether the damage meets the sudden and accidental standard.
How to Prevent Water Damage in a Bathroom
Preventing bathroom water damage requires regular inspection of seals, fixtures, and ventilation to catch small leaks before they cause structural damage. The following practices reduce the risk of water damage in a bathroom:
- Inspect and recaulk grout and caulk lines around tile, tubs, and showers on a routine schedule, since cracked seals are a leading entry point for water.
- Run the exhaust fan during and after showers to reduce humidity and prevent chronic condensation on walls and cabinets.
- Check supply line connections and shutoff valves under sinks and behind toilets periodically for signs of moisture or corrosion.
- Address slow leaks and small drips promptly rather than waiting for visible damage to appear, since delayed response is the most common cause of gradual damage exclusions on insurance claims.
- Install a moisture barrier or waterproof liner under vanity and cabinet bases in bathrooms with a history of splashing or condensation.
DIY Repair vs. Professional Bathroom Water Damage Restoration
DIY repair is appropriate for small, cosmetic bathroom water damage with no structural or mold involvement, while professional restoration is recommended when subfloor rot, wall cavity saturation, or mold is present. A single swollen cabinet panel, minor grout resealing, or a small dried water spot on solid subfloor can typically be handled without a contractor.
Mold growth, soft or discolored subfloor, saturated wall cavities, and damage that has spread to multiple components indicate a scope beyond typical DIY repair and warrant professional evaluation. A professional water damage restoration process generally includes moisture mapping to locate hidden saturation, structural drying with air movers and dehumidifiers, and mold remediation when needed before reconstruction begins.
Apex Damage Restoration provides 24/7 emergency response for bathroom water damage, with IICRC-trained technicians who assess affected components, perform structural drying, and coordinate directly with insurance carriers throughout the claims process.
Need Emergency Restoration Help Today?
Call Apex Damage Restoration now for fast priority dispatch across Aurora, CO, a written estimate before work begins, and direct insurance claims assistance.