
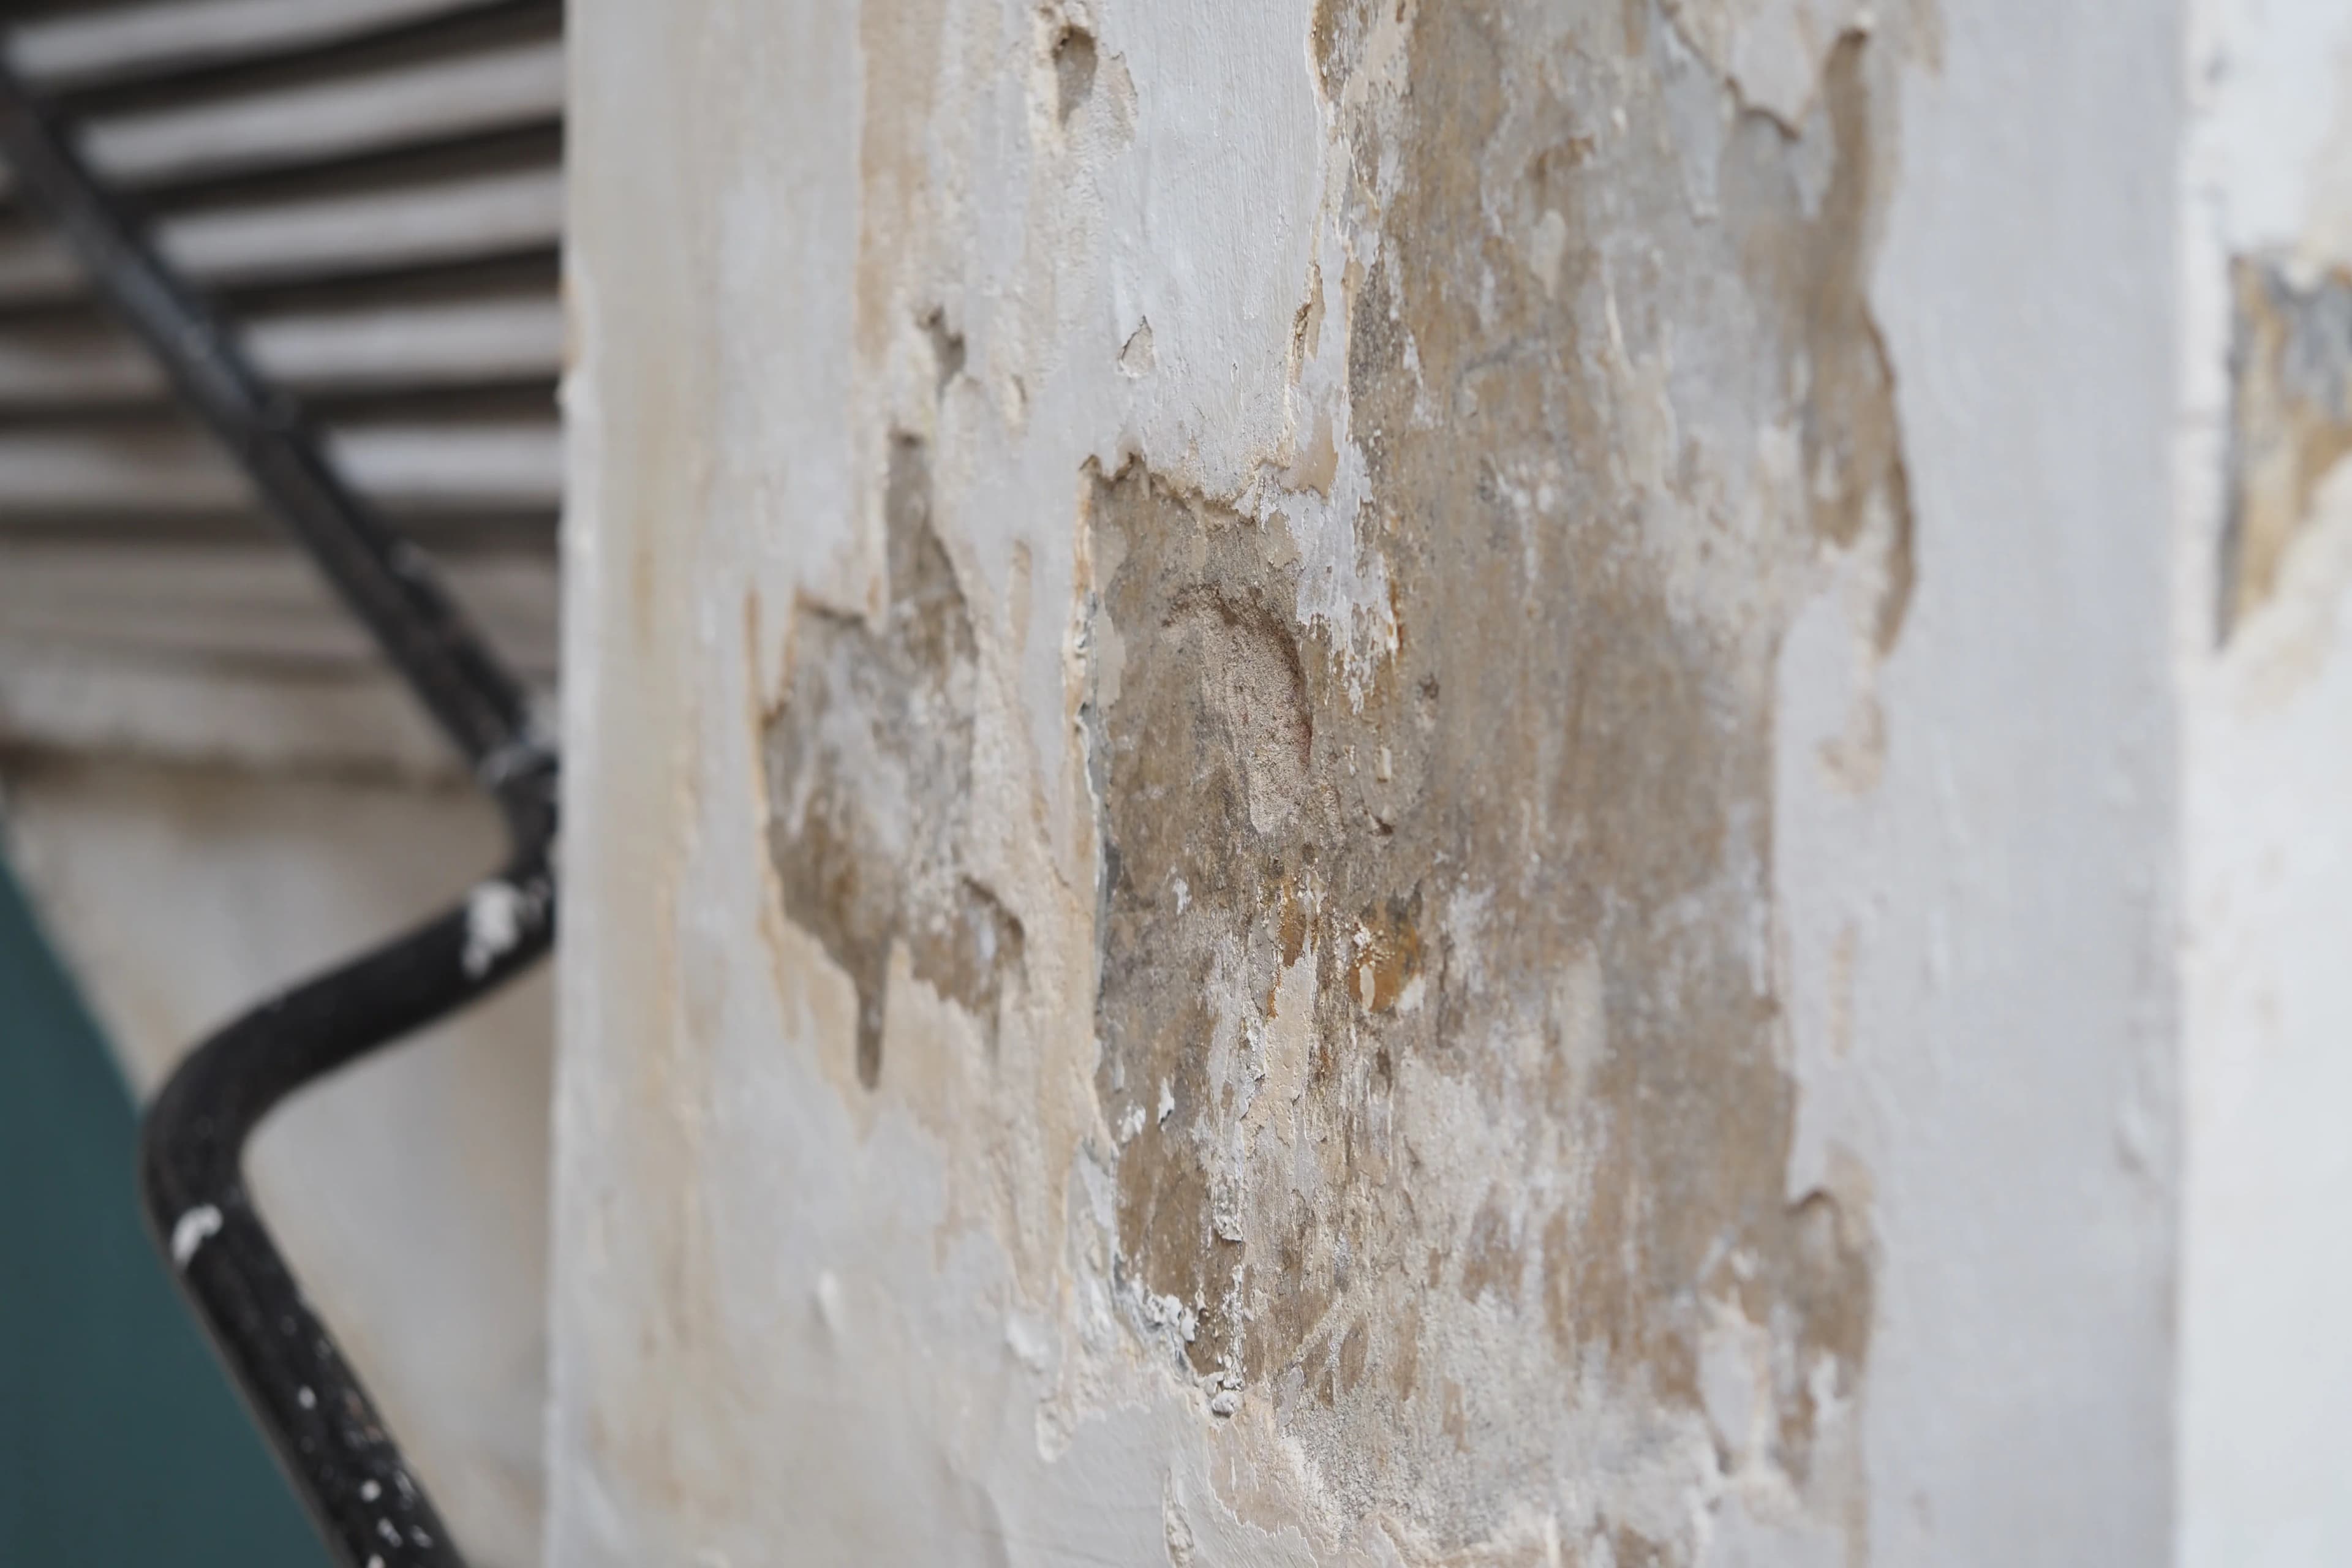
Water-damaged drywall is gypsum wallboard that has absorbed moisture from a leak, flood, or high humidity, causing it to weaken, discolor, or lose structural integrity. Recognizing the signs early, deciding between repair and replacement, and understanding the repair process and cost help homeowners and property managers limit further damage to framing, insulation, and indoor air quality.
How to Tell if Water Damage Is Behind Drywall?
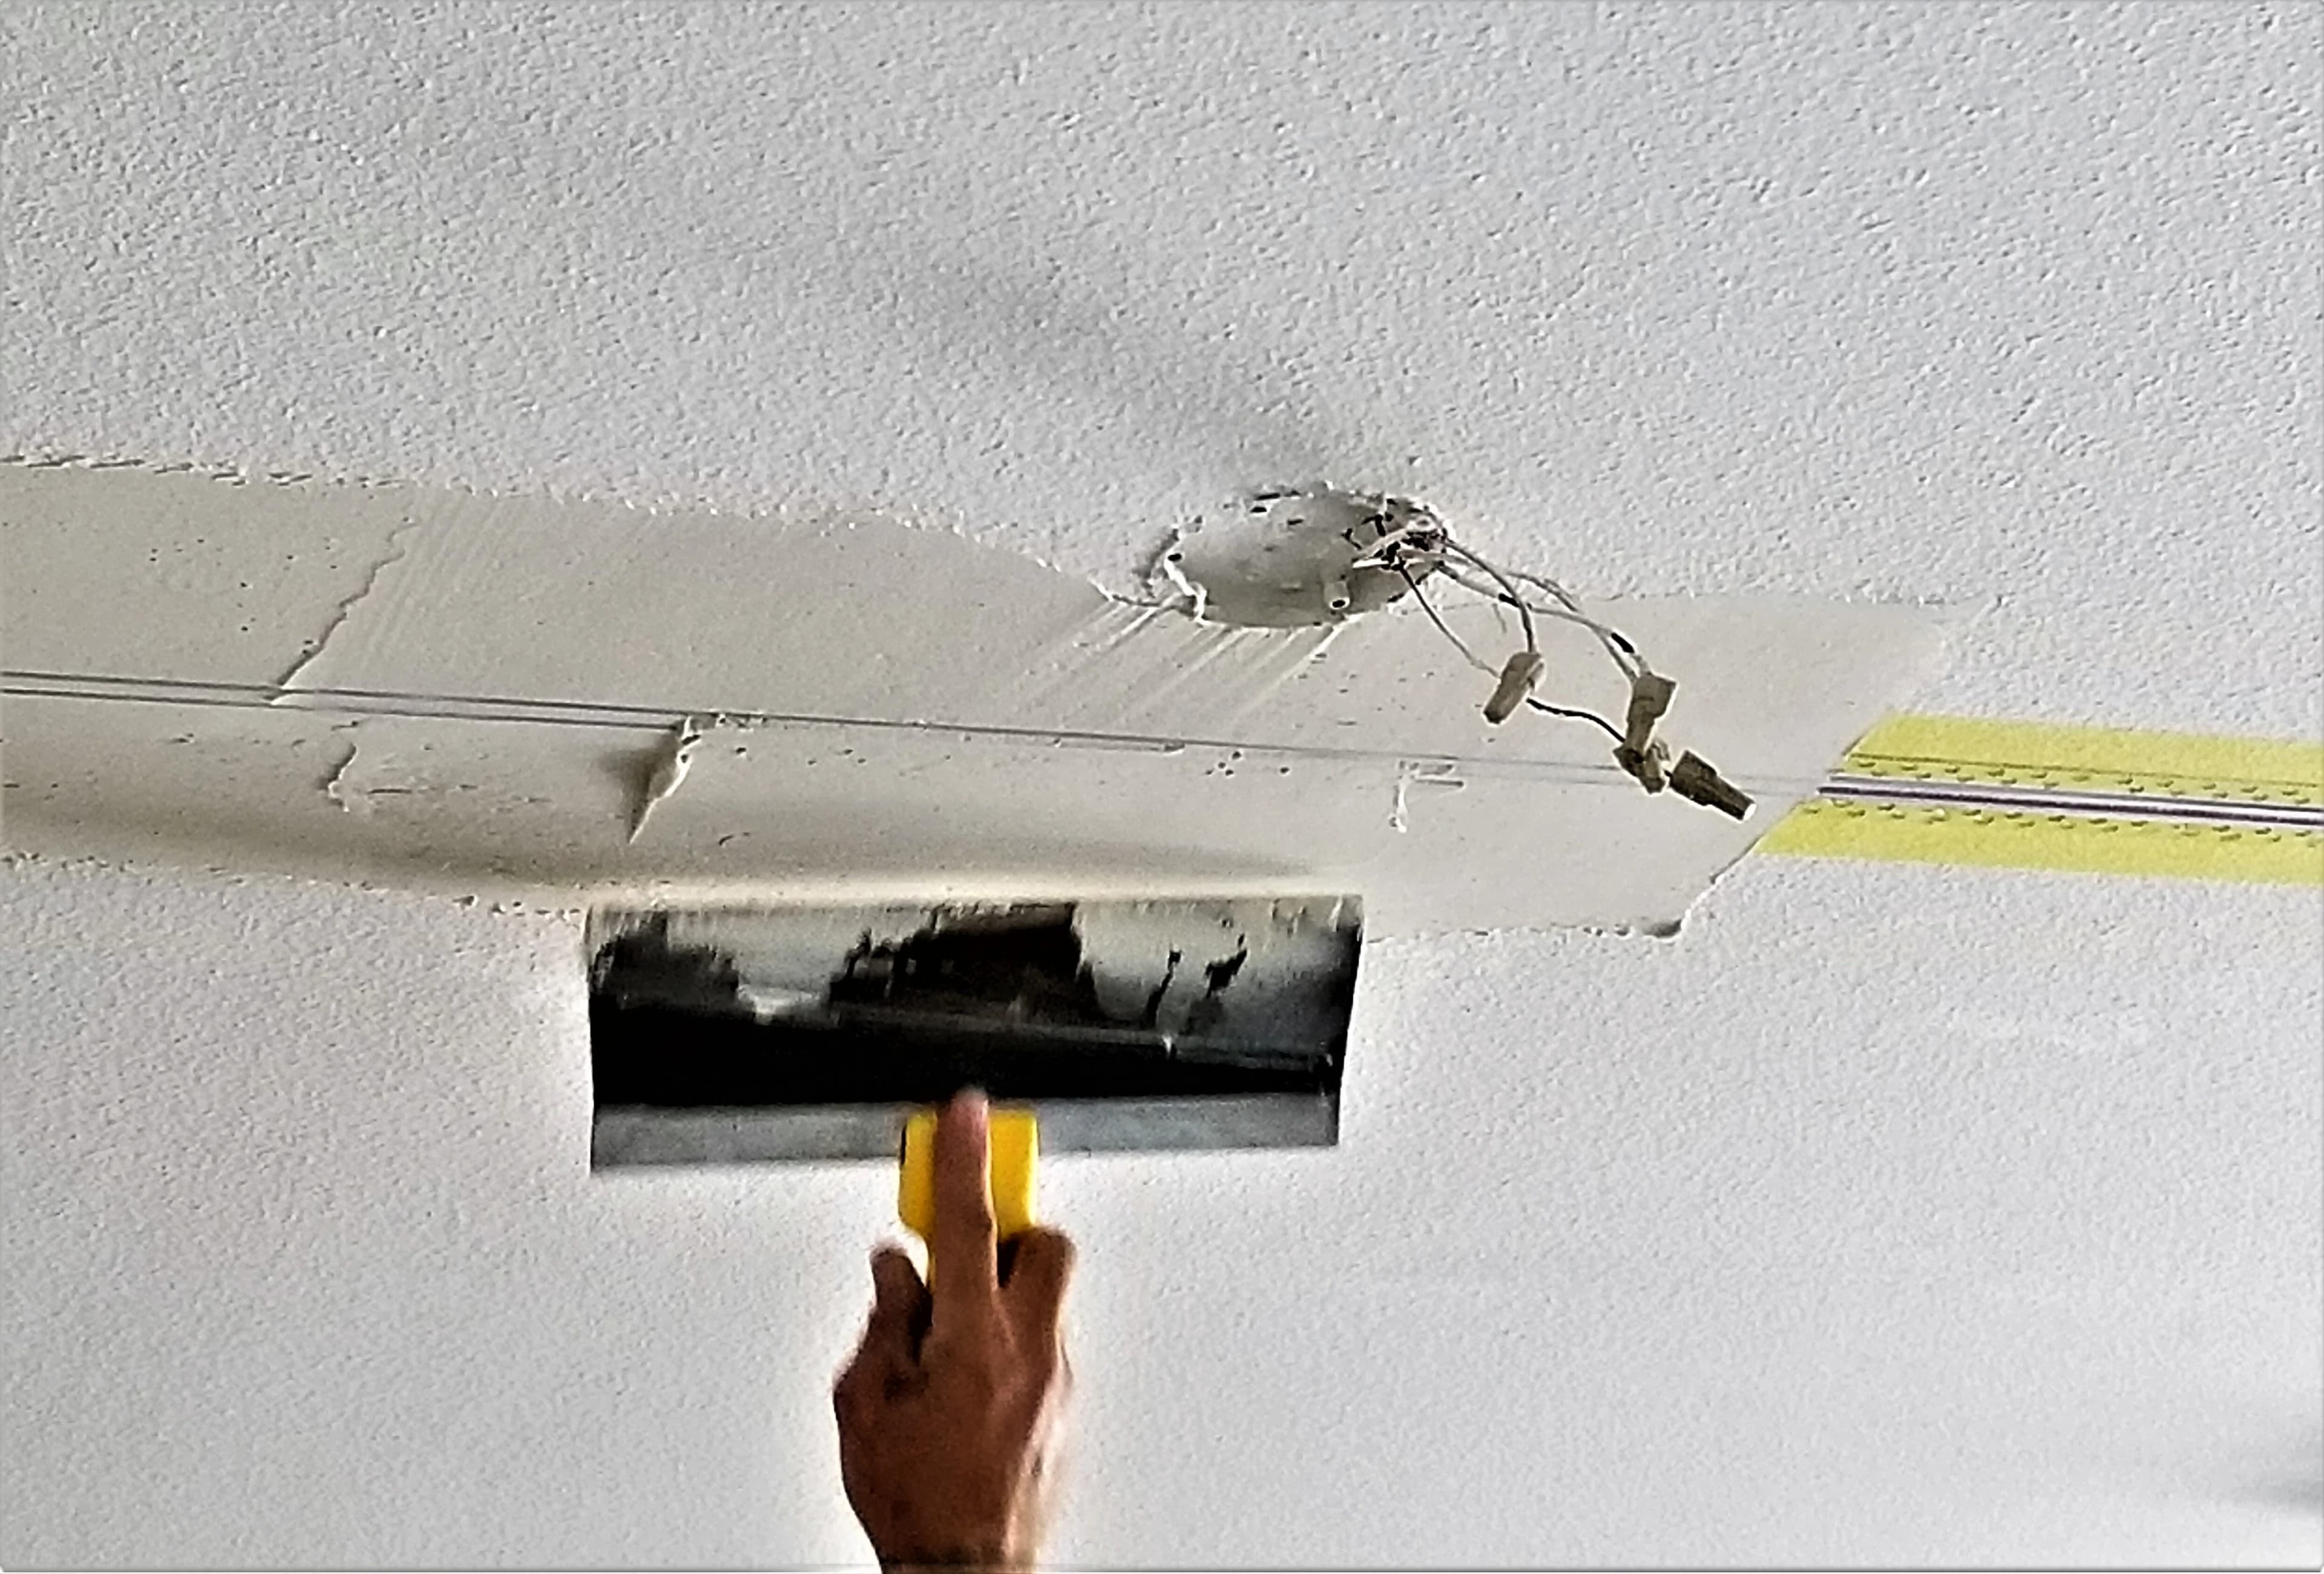
Water-damaged drywall shows five primary signs: discoloration, sagging or bulging, a soft or spongy texture, peeling paint or bubbling wallpaper, and a musty odor. These signs range from immediately visible surface changes to less obvious indicators that require touch or smell to detect, and they often appear in combination rather than alone.
Discoloration and Water Stains
Discoloration appears as yellow, brown, or copper-colored blotches on the drywall surface, typically forming a ring pattern around the source of moisture. The stain's ring shape develops because water spreads outward from the point of contact and dries unevenly, leaving mineral and tannin deposits at the stain's edge. A fresh stain appears darker and damp to the touch, while an older stain dries to a lighter tan or yellow color. Stains that darken or expand after a repair indicate an active, unresolved leak rather than residual damage from a past event.
Sagging, Bulging, or Warped Drywall
Sagging, bulging, or warped drywall indicates that the gypsum core has absorbed enough water to lose its rigidity and structural strength. Standard drywall panels weigh approximately 1.6 pounds per square foot when dry; saturation with water can more than double that weight, causing the panel to pull away from ceiling joists or wall studs. A visibly sagging ceiling panel presents an immediate safety concern, since the added weight can cause a partial or complete collapse without warning. Bulging most often appears on ceilings, where gravity accelerates the deformation, though vertical walls can bow outward near a leaking pipe or window.
Soft, Spongy, or Crumbling Texture
A soft, spongy, or crumbling texture confirms water damage that is not yet visible on the surface. Gently pressing a gloved hand against the drywall in the area of a suspected leak reveals whether the panel has retained moisture; a section that gives way, feels damp, or crumbles under light pressure has already lost structural integrity. This touch-test method identifies damage before staining or sagging appears, which matters most in areas with slow, ongoing leaks such as behind a shower wall or beneath a windowsill. A moisture meter provides a more precise reading, with readings above 1% moisture content on a gypsum-calibrated meter indicating active saturation.
Peeling Paint or Bubbling Wallpaper
Peeling paint or bubbling wallpaper often appears before staining becomes visible, since trapped moisture pushes against the paint film or wallpaper adhesive from underneath. The paint or wallpaper separates from the drywall surface as the adhesive bond weakens, creating visible bubbles, blisters, or curling edges. This sign commonly develops around windows, exterior walls, and bathroom ceilings, where condensation or slow leaks introduce moisture gradually rather than all at once. Peeling or bubbling in a room without a known leak source warrants an inspection for hidden plumbing or roof problems.
Musty Odor or Visible Mold Growth
A musty odor or visible mold growth signals that moisture has remained in the drywall long enough to support microbial growth, typically within 24 to 48 hours of sustained dampness. Mold colonies appear as black, green, or white speckled patches on the drywall surface or along seams, and growth frequently extends into the wall cavity where it cannot be seen directly. The Environmental Protection Agency identifies mold as a health concern that can trigger allergic reactions and respiratory irritation in sensitive individuals. A persistent musty smell without visible staining often indicates mold growth inside the wall cavity or behind baseboards, areas commonly affected during broader water damage events throughout a home.
Repair or Replace Water Damaged Drywall?
Water-damaged drywall requires replacement when the gypsum core has softened, crumbled, or delaminated, and repair remains an option when damage is limited to surface staining without structural weakening. The decision depends on three factors: the water category, the extent of saturation, and the duration of exposure. Drywall exposed to clean water (Category 1) for a short period and dried within 24 to 48 hours may be salvageable, while drywall exposed to contaminated water (Category 2 or 3) or saturated for more than 48 hours typically requires removal to prevent mold growth and eliminate contamination.
A panel that has sagged, lost rigidity, or shows mold growth covering more than 10 square feet meets the threshold for replacement under Institute of Inspection, Cleaning and Restoration Certification (IICRC) S500 guidelines.
How to Replace Water Damaged Drywall
To replace water-damaged drywall, cut out and remove the affected panel section, dry and treat the wall cavity, then install and finish new drywall matching the original thickness. Begin by shutting off the moisture source and using a moisture meter to mark the boundary between damaged and dry drywall, cutting at least 12 inches beyond the visible damage to reach solid material. Remove the damaged section with a utility knife or drywall saw along stud or joist lines, then inspect the wall cavity for wet insulation, damaged framing, or mold growth on structural members. Dry the cavity completely with fans or a dehumidifier before applying an antimicrobial treatment to exposed studs and remaining drywall edges. Cut a new drywall panel to match the removed section, screw it into the studs or joists at 12-inch intervals, then tape, apply joint compound in three coats, sand, and prime the repaired area before painting.
How to Repair Water-Damaged Drywall?
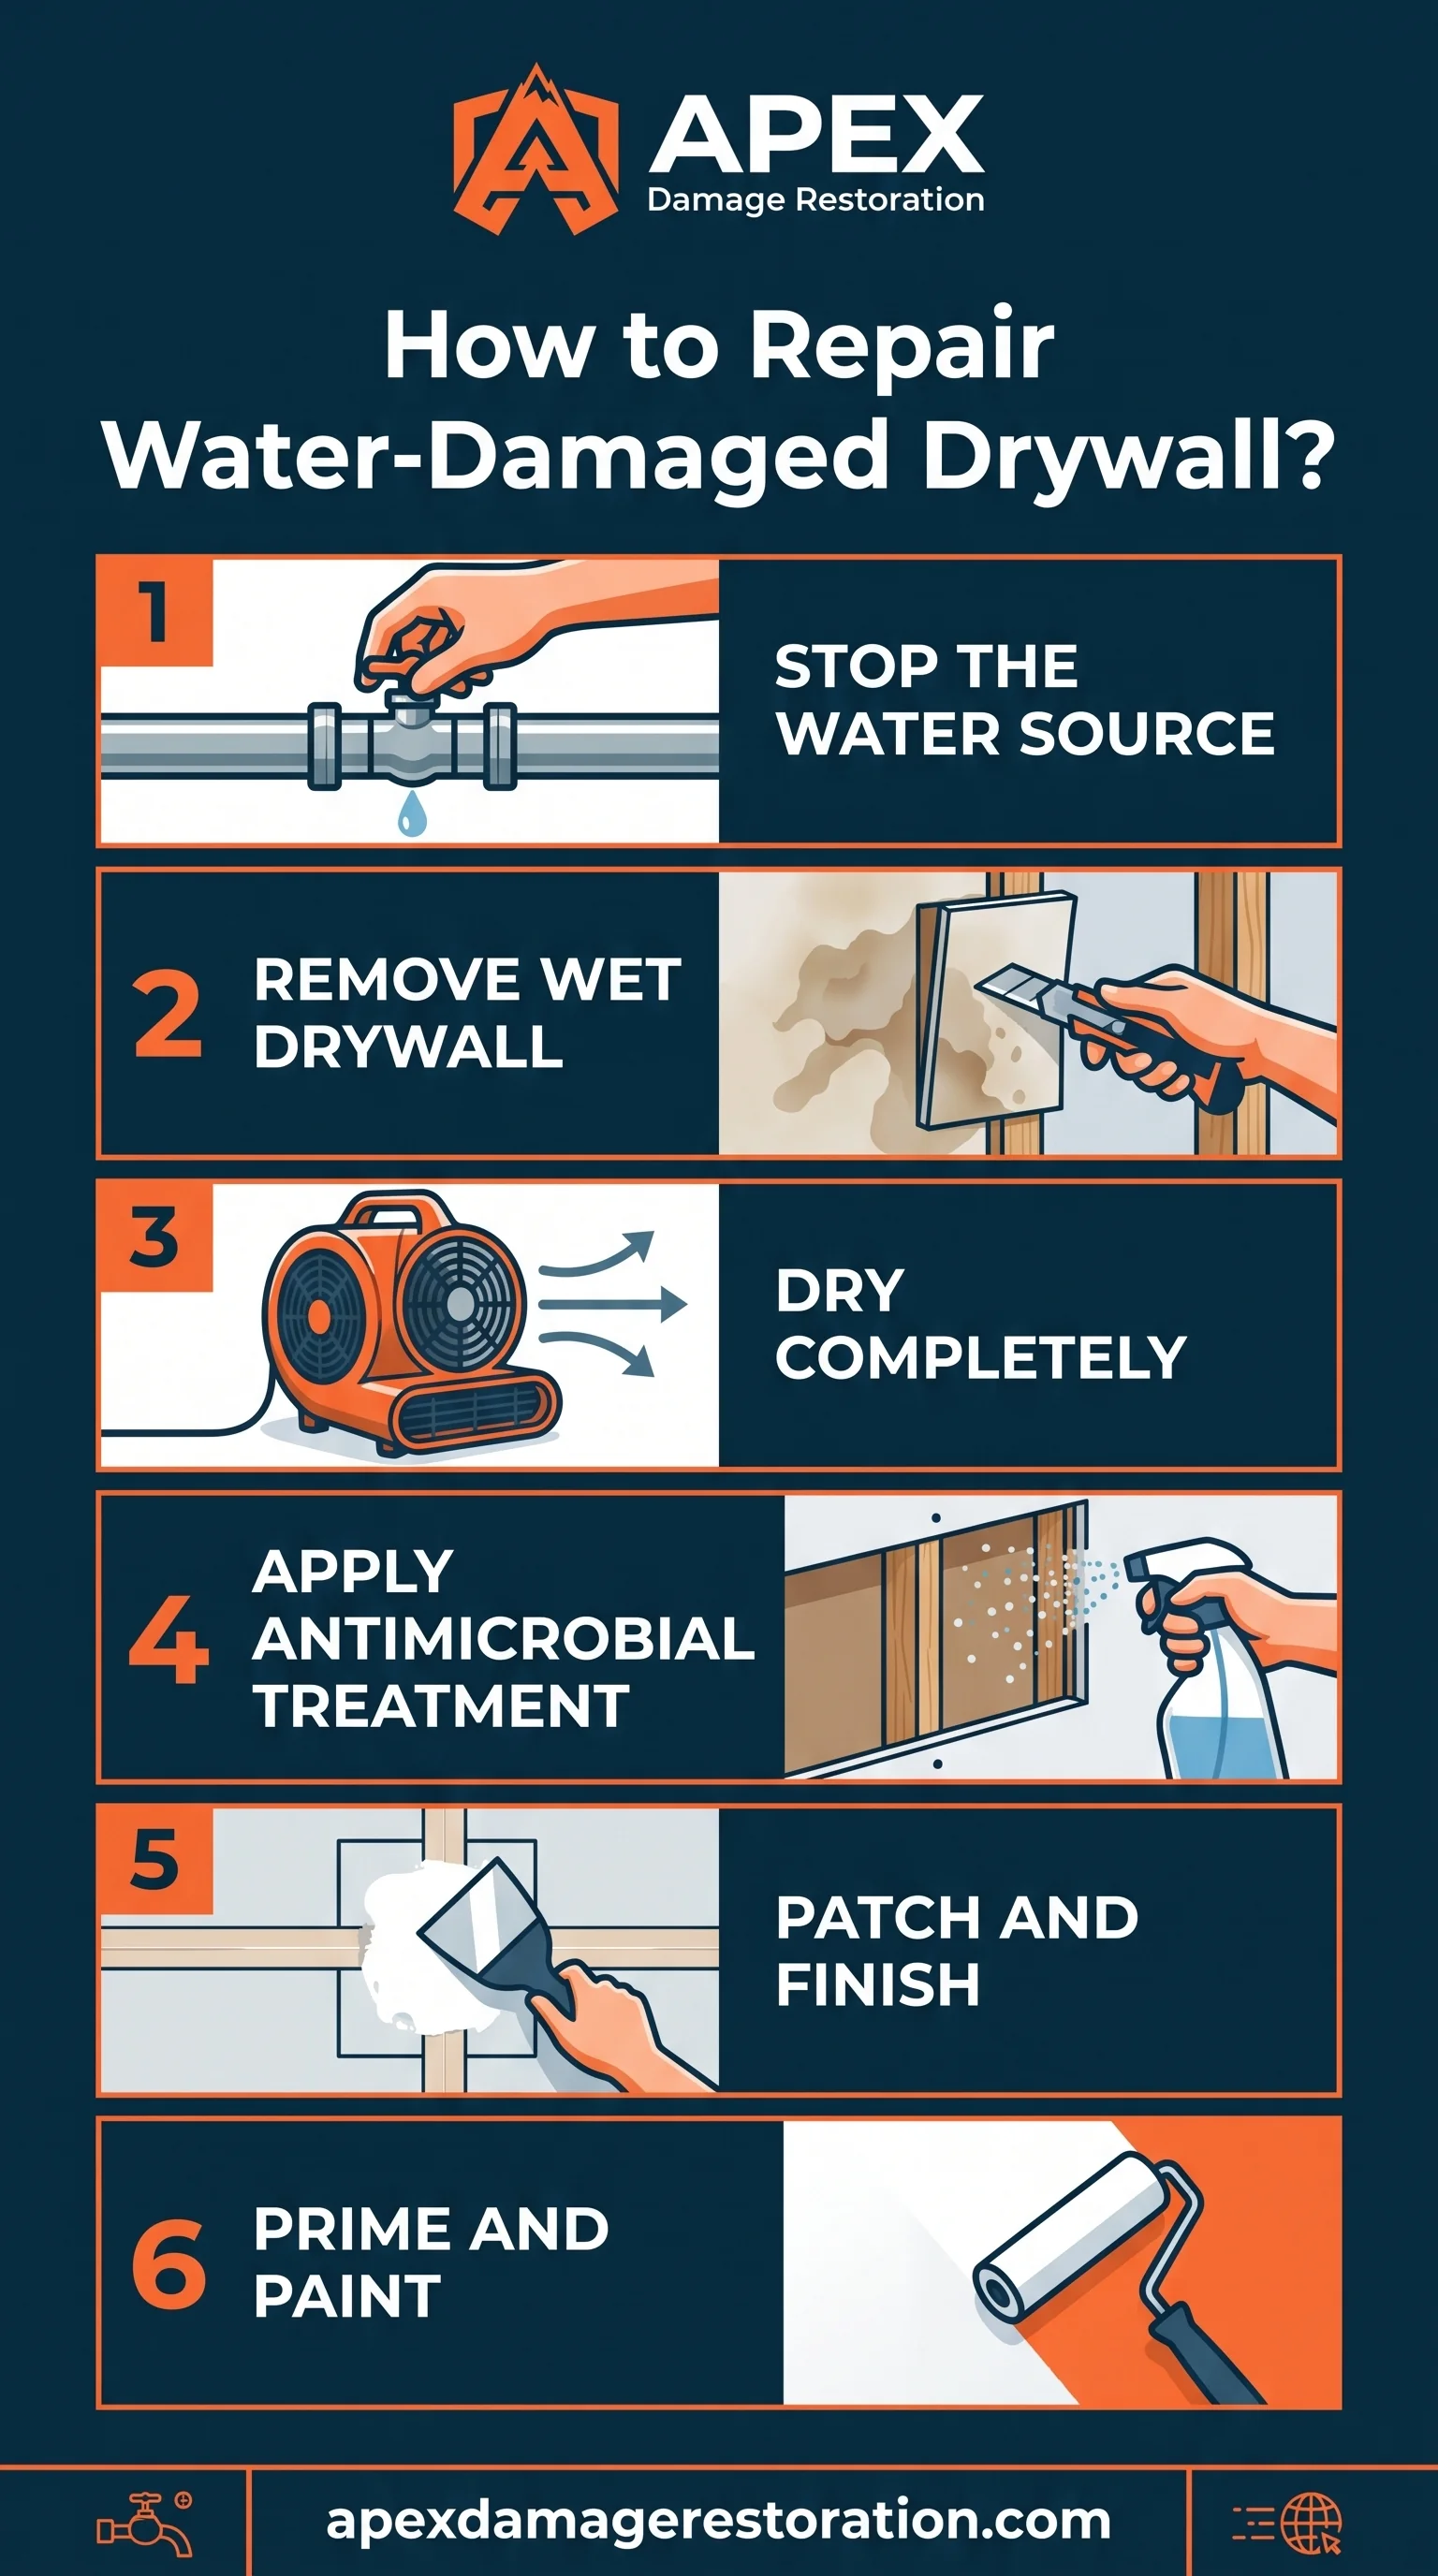
To repair water-damaged drywall, dry the affected area completely, remove any damaged material, treat the surface for mold prevention, then patch, sand, and refinish the wall or ceiling. The repair process for water-damaged drywall follows six stages, applied in sequence to prevent trapped moisture from causing secondary damage.
- 1Identify and stop the water source. Locate and repair the leak, whether from a plumbing line, roof, window, or appliance, before beginning any drywall work.
- 2Remove wet or damaged materials. Cut away soft, sagging, or moldy drywall, along with any wet insulation in the cavity behind it.
- 3Dry the area completely. Run fans and a dehumidifier for 24 to 72 hours, depending on the extent of saturation, and confirm dryness with a moisture meter before proceeding.
- 4Apply antimicrobial treatment. Treat exposed studs, remaining drywall, and the surrounding cavity with an EPA-registered antimicrobial solution to inhibit mold growth.
- 5Patch and finish the surface. Install a drywall patch or new panel section, apply joint tape and three coats of joint compound, then sand each layer smooth.
- 6Prime and paint. Apply a stain-blocking primer over the repaired area before painting to prevent old water stains from bleeding through the new finish.
Minor damage limited to a small stained area without structural softening may only require steps 3 through 6, while damage involving sagging, mold, or saturated insulation requires the full six-stage process.
Repairing a Water Damaged Drywall Ceiling
Repairing a water-damaged drywall ceiling requires the same six-stage process used for walls, with additional support to prevent collapse during the repair. Ceiling drywall carries its own weight against gravity, so a saturated section can fail suddenly; temporary support boards or drywall screws placed around the damaged perimeter stabilize the panel before removal begins. Because ceiling leaks typically originate from roofing, plumbing, or an upper-floor bathroom, the water source often sits above the visible damage and requires access through an attic or the floor above to confirm the repair is complete. Ceiling patches require careful color and texture matching, since ceiling finishes such as knockdown or popcorn texture are visible from multiple angles and mismatches are more noticeable than on a wall.
What Is The Cost to Repair Water Damaged Drywall?
Water damaged drywall repair costs $3 to $8 per square foot on average, or $300 to $1,000 for a typical single-room repair, according to industry cost estimates. This range covers minor patch repairs; costs increase for larger sections, ceiling work, or repairs requiring mold remediation. The following factors affect the total price:
- Size of the damaged area: Small patches under 4 square feet often cost $75 to $250, while full panel replacement of 32 square feet or more can reach $500 to $1,500.
- Location within the home: Ceiling repairs cost 20% to 30% more than wall repairs due to the added labor of overhead work and support staging.
- Water category and contamination level: Repairs involving contaminated water (Category 2 or 3) add $500 to $1,500 for cleaning, disinfection, and disposal of contaminated material.
- Mold remediation needs: Mold removal adds $500 to $6,000 depending on the affected square footage, based on typical industry remediation pricing.
- Texture and paint matching: Matching an existing ceiling or wall texture adds $100 to $300 to a standard repair.
- Labor rates by region: Drywall repair labor averages $50 to $75 per hour, with higher rates in metropolitan areas compared with rural regions.
A repair that also requires water extraction, structural drying, and dehumidification before the drywall work begins adds separate restoration costs, typically ranging from $1,200 to $5,300 for a whole-home drying process depending on the extent of the water intrusion.
Call a Professional Water Damage Restoration Company
Water-damaged drywall that involves structural sagging, contaminated water, mold growth beyond a small surface area, or an unidentified moisture source requires assessment by a licensed water damage restoration professional. A professional restoration company uses moisture meters, thermal imaging, and industrial drying equipment to confirm that a wall cavity and surrounding framing are fully dry before new drywall is installed, preventing mold growth that can develop behind a repaired surface. Apex Damage Restoration provides inspection, water extraction, structural drying, and drywall repair services for homeowners and businesses managing water damage from leaks, storms, or plumbing failures.
Need Emergency Restoration Help Today?
Call Apex Damage Restoration now for fast priority dispatch across Aurora, CO, a written estimate before work begins, and direct insurance claims assistance.