
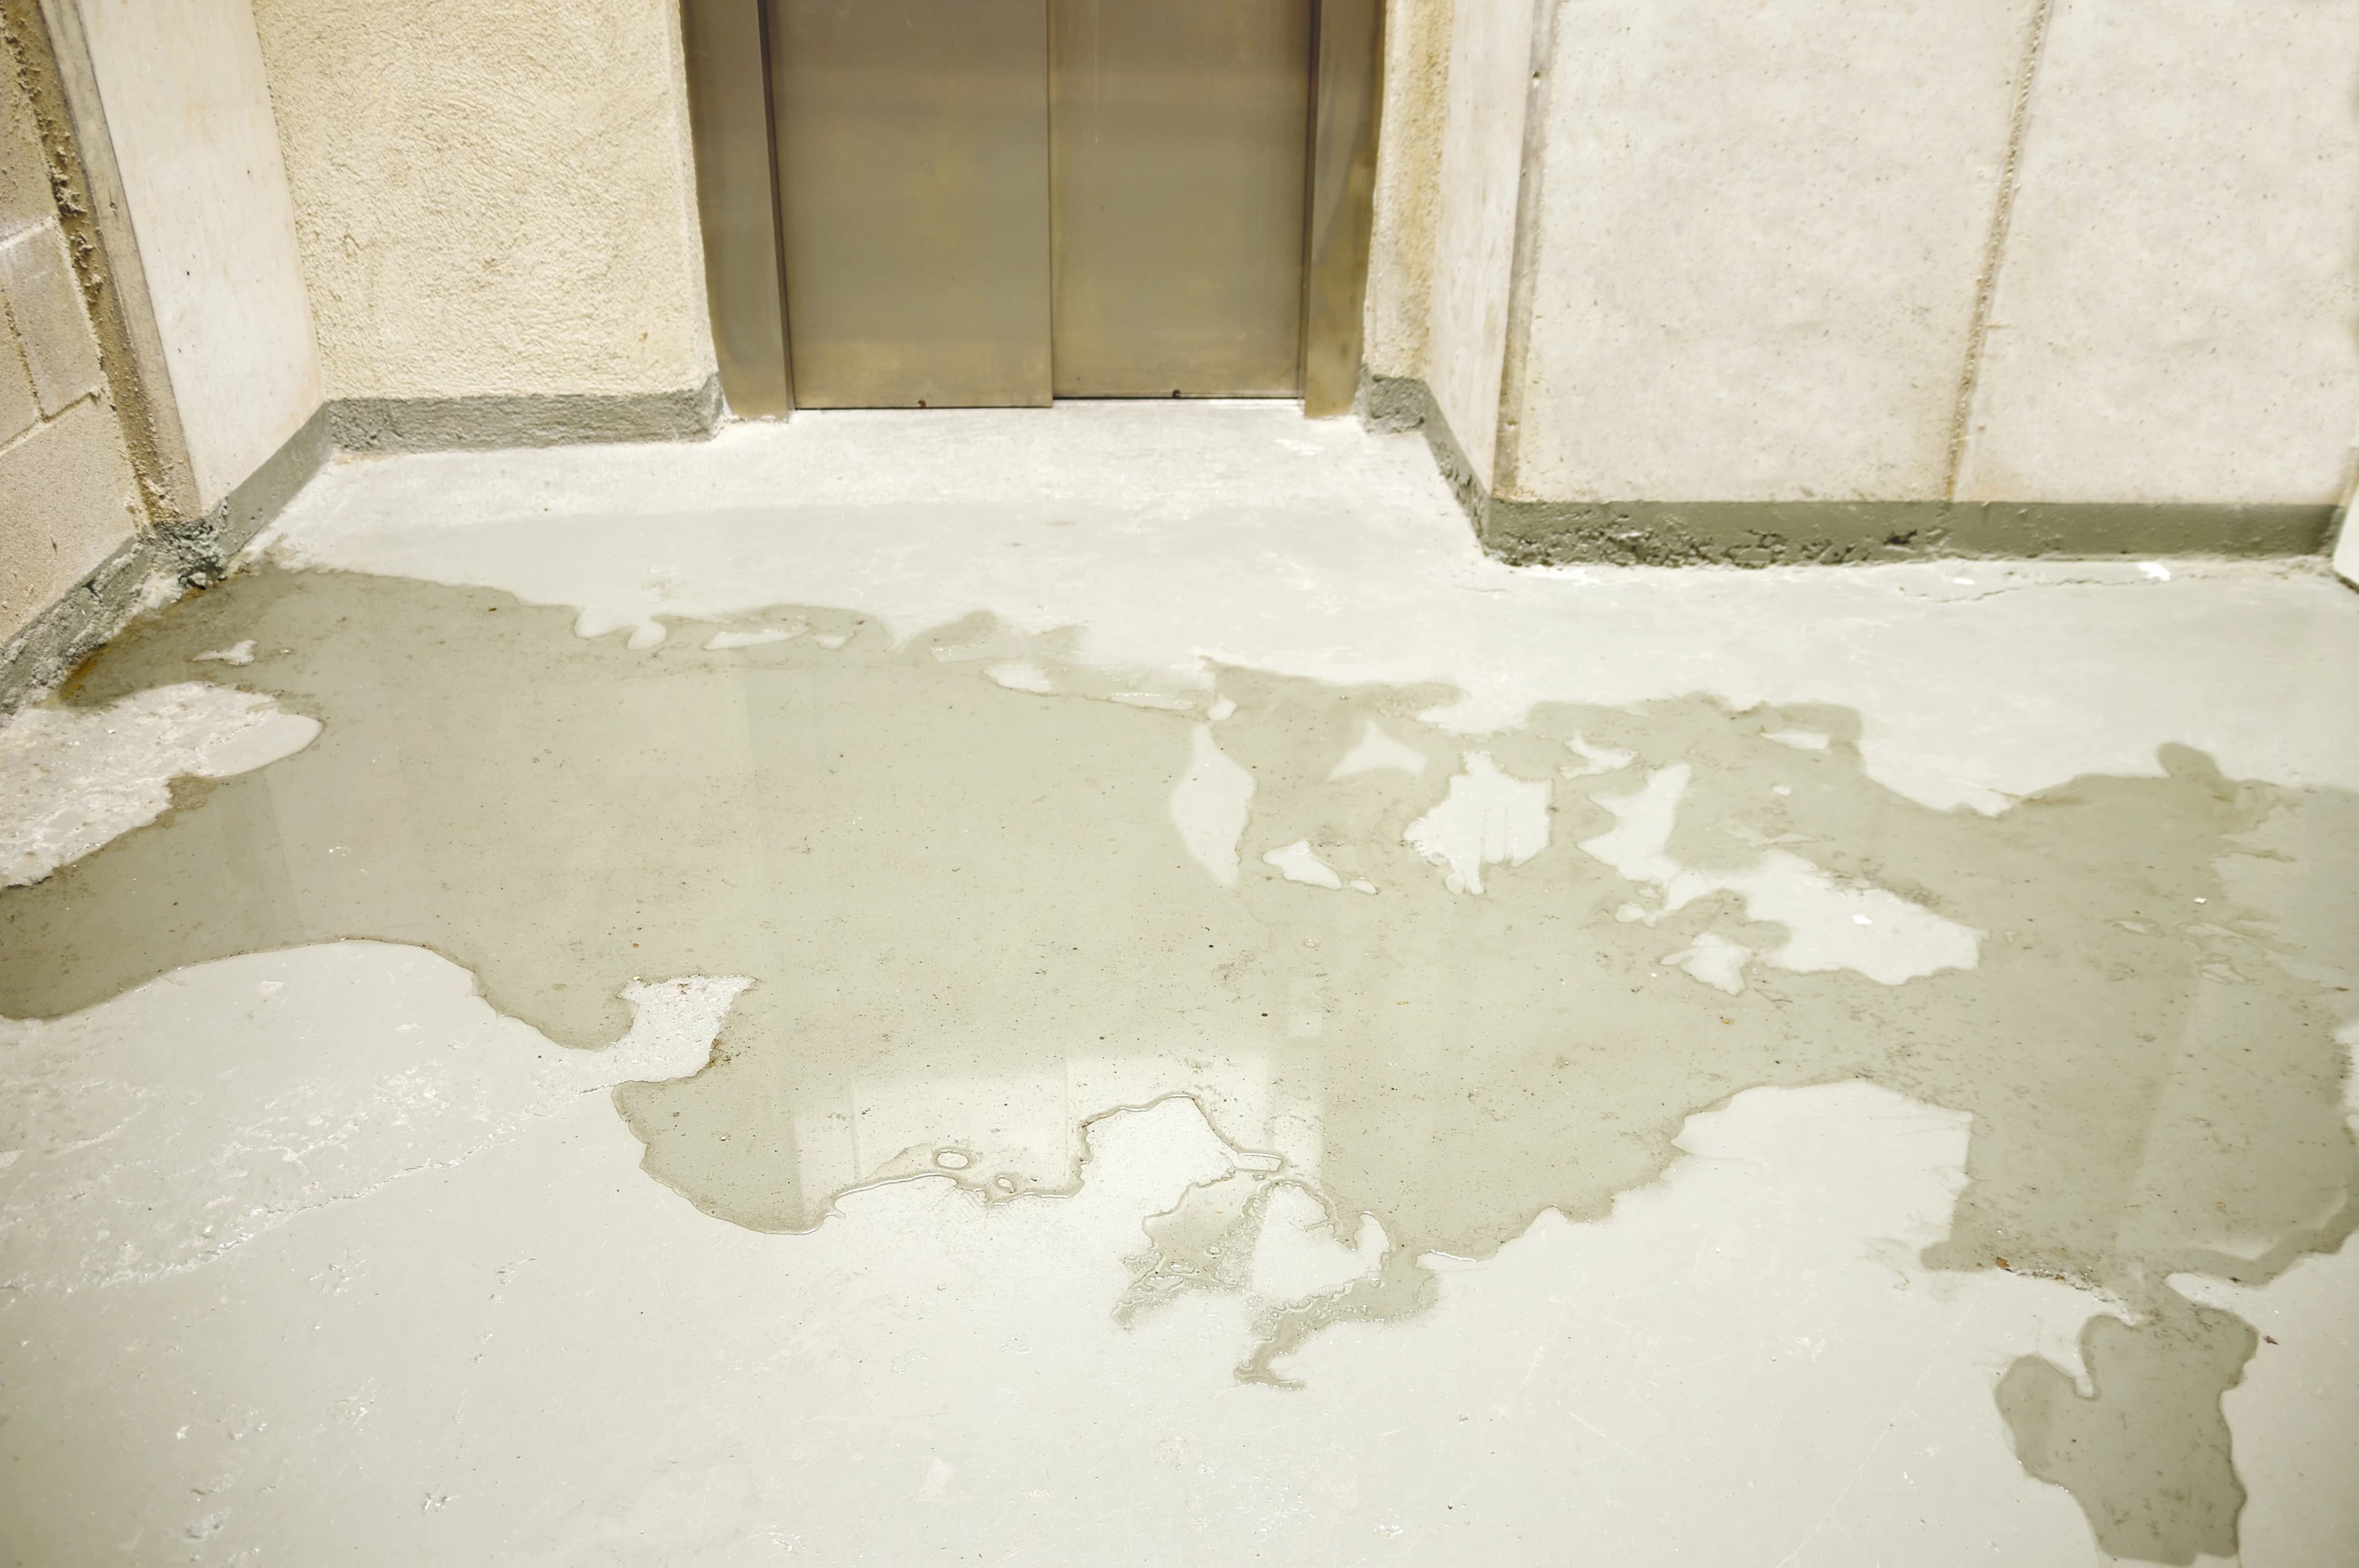
A water leak is an uncontrolled release of water from a plumbing line, fixture, or appliance inside or beneath a home. Finding a leak requires two steps: recognizing the warning signs and confirming the source through direct checks. The sections below cover both steps, list the areas where leaks most often start, and explain what to do once a leak is confirmed.
Signs of a Water Leak in Your Home
A hidden water leak produces five common warning signs: rising water bills, damp spots, musty odors, running-water sounds, and reduced water pressure. Each sign points to a different stage or location of the leak.
Unexplained Increase in Your Water Bill
A water bill that rises without a change in household water use indicates a possible leak. Compare two consecutive billing cycles under similar usage conditions. A steady increase across several months suggests a slow, continuous leak rather than a one-time spike from a guest visit or outdoor watering.
Damp Spots, Stains, or Discoloration
Damp spots, yellow-brown stains, or discoloration on ceilings, walls, or floors indicate water is escaping from a nearby pipe or fixture. Ceiling stains often trace back to a leak in the plumbing or roofing directly above the affected area. Peeling paint or bubbling drywall accompanies stains when moisture has been present for an extended period.
Musty or Mildew Odors
A persistent musty or mildew odor signals trapped moisture, even without visible water. Mold and mildew develop in enclosed spaces such as behind walls, under cabinets, or beneath flooring within 24 to 48 hours of sustained dampness. An odor that returns after cleaning points to a moisture source that has not been resolved.
Sound of Running Water When Fixtures Are Off
Water running or trickling with every fixture and appliance switched off indicates an active leak in the supply line. This sound is most noticeable in quiet rooms or at night. A hissing sound near a wall or floor often points to a pressurized supply line leak rather than a drain leak.
Low Water Pressure
A sudden drop in water pressure at one or more fixtures suggests water is escaping the line before it reaches the tap. Pressure loss limited to a single fixture points to a localized blockage or leak near that fixture. Pressure loss across the entire home points to a leak in the main supply line.
How to Check for a Water Leak in Your Home
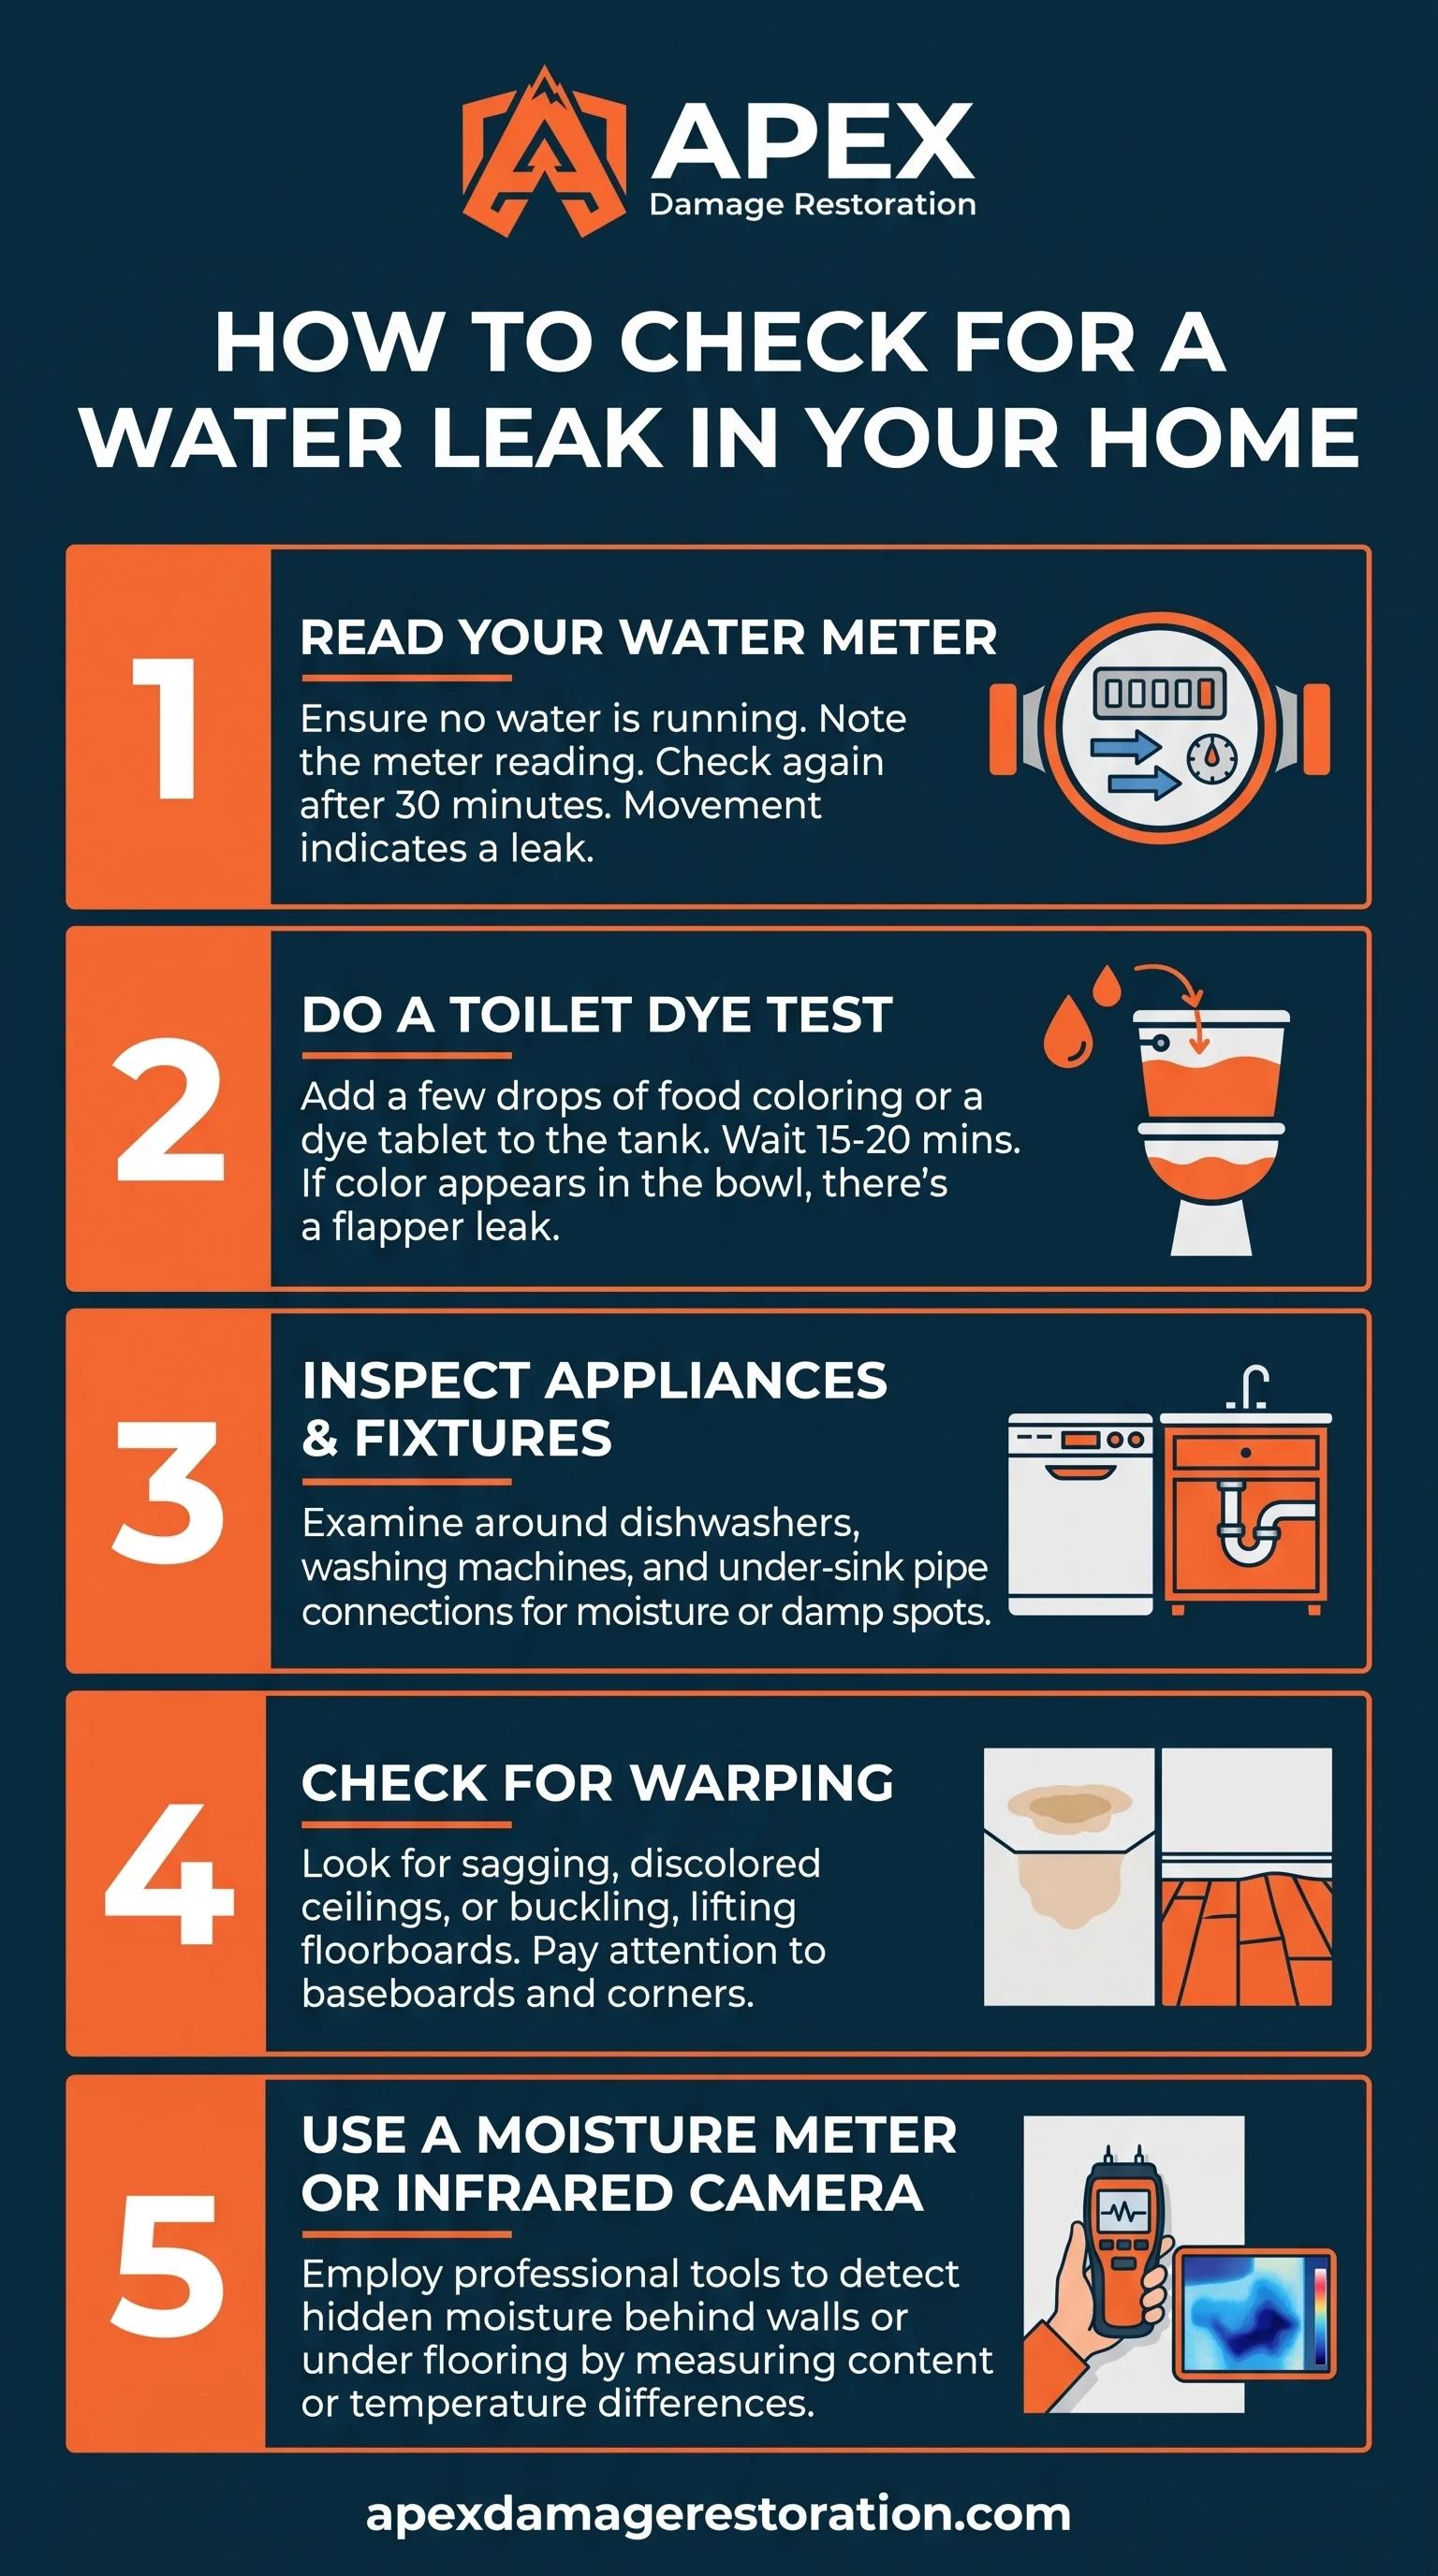
Checking for a water leak involves five methods: reading the water meter, running a toilet dye test, inspecting fixtures individually, checking for warping, and scanning with a moisture meter or infrared camera. These methods move from a whole-house check to a targeted, room-by-room inspection.
Read Your Water Meter
Reading the water meter confirms whether water is moving through the system while no fixtures are in use. Shut off every faucet, appliance, and irrigation valve, then record the meter reading. Check the meter again after two hours without water use. A changed reading confirms an active leak somewhere in the home's plumbing.
Do a Toilet Dye Test
A toilet dye test identifies a leak between the toilet tank and bowl. Add a dye tablet or several drops of food coloring to the tank water without flushing. Wait 10 minutes, then check the bowl. Colored water in the bowl confirms the flapper valve is allowing tank water to leak into the bowl.
Inspect Appliances and Fixtures Individually
Inspecting appliances and fixtures individually narrows the leak to a specific water-using device. Check the connections, hoses, and base of dishwashers, washing machines, water heaters, refrigerators with ice makers, and under-sink supply lines for moisture or corrosion. Run each appliance separately and check the connection points immediately afterward for new dampness.
Check Ceilings, Walls, and Floors for Warping
Warped or soft flooring, sagging ceilings, and bulging walls indicate water has saturated the material behind the surface. Press gently on suspect areas of flooring or drywall; softness or give under light pressure confirms moisture absorption. Warping concentrated near a specific wall or ceiling section narrows the leak location to the plumbing or roofing directly behind it.
Use a Moisture Meter or Infrared Camera
A moisture meter measures the water content inside building materials without cutting into walls or floors. Place the meter's sensor against drywall, flooring, or trim; a reading above the material's normal moisture range confirms a leak in that section. An infrared camera detects temperature differences caused by moisture evaporation, which helps locate a leak's boundaries across a larger wall or ceiling area before any material is removed.
Common Places Water Leaks Hide
Water leaks concentrate in four areas of a home: fixture connections, the water heater and its supply lines, the space behind walls and under flooring, and outdoor water lines. Checking these locations directly narrows a suspected leak to its source.
Under Sinks and Around Toilets
Supply line connections and P-traps under sinks, along with the wax ring and shutoff valve around toilets, are common leak points due to their frequent use and rubber or wax seals. Check for water pooling at the base of the toilet, corrosion on supply line fittings, and moisture inside the cabinet beneath a sink.
Water Heater and Supply Lines
The water heater tank, its inlet and outlet connections, and the pressure relief valve are frequent leak sources due to constant pressure and temperature cycling. Check the floor around the tank's base for standing water and inspect the fittings at the top of the unit for corrosion or dripping.
Behind Walls and Under Flooring
Supply and drain pipes routed behind walls or under flooring leak without immediate visible signs, since the water must saturate the surrounding material before reaching a visible surface. These leaks typically surface as damp spots, warping, and odors described in the signs section above, often at a location offset from the actual pipe due to water traveling along framing before reaching a wall or ceiling surface.
Outdoor Spigots and Irrigation Lines
Hose bibs, irrigation valves, and buried irrigation lines leak from cracked fittings, freeze damage, or worn valve seals. Check for wet or unusually green patches of lawn along an irrigation line's path and inspect hose bib connections for dripping when the attached hose is removed.
What to Do After You Find a Leak?
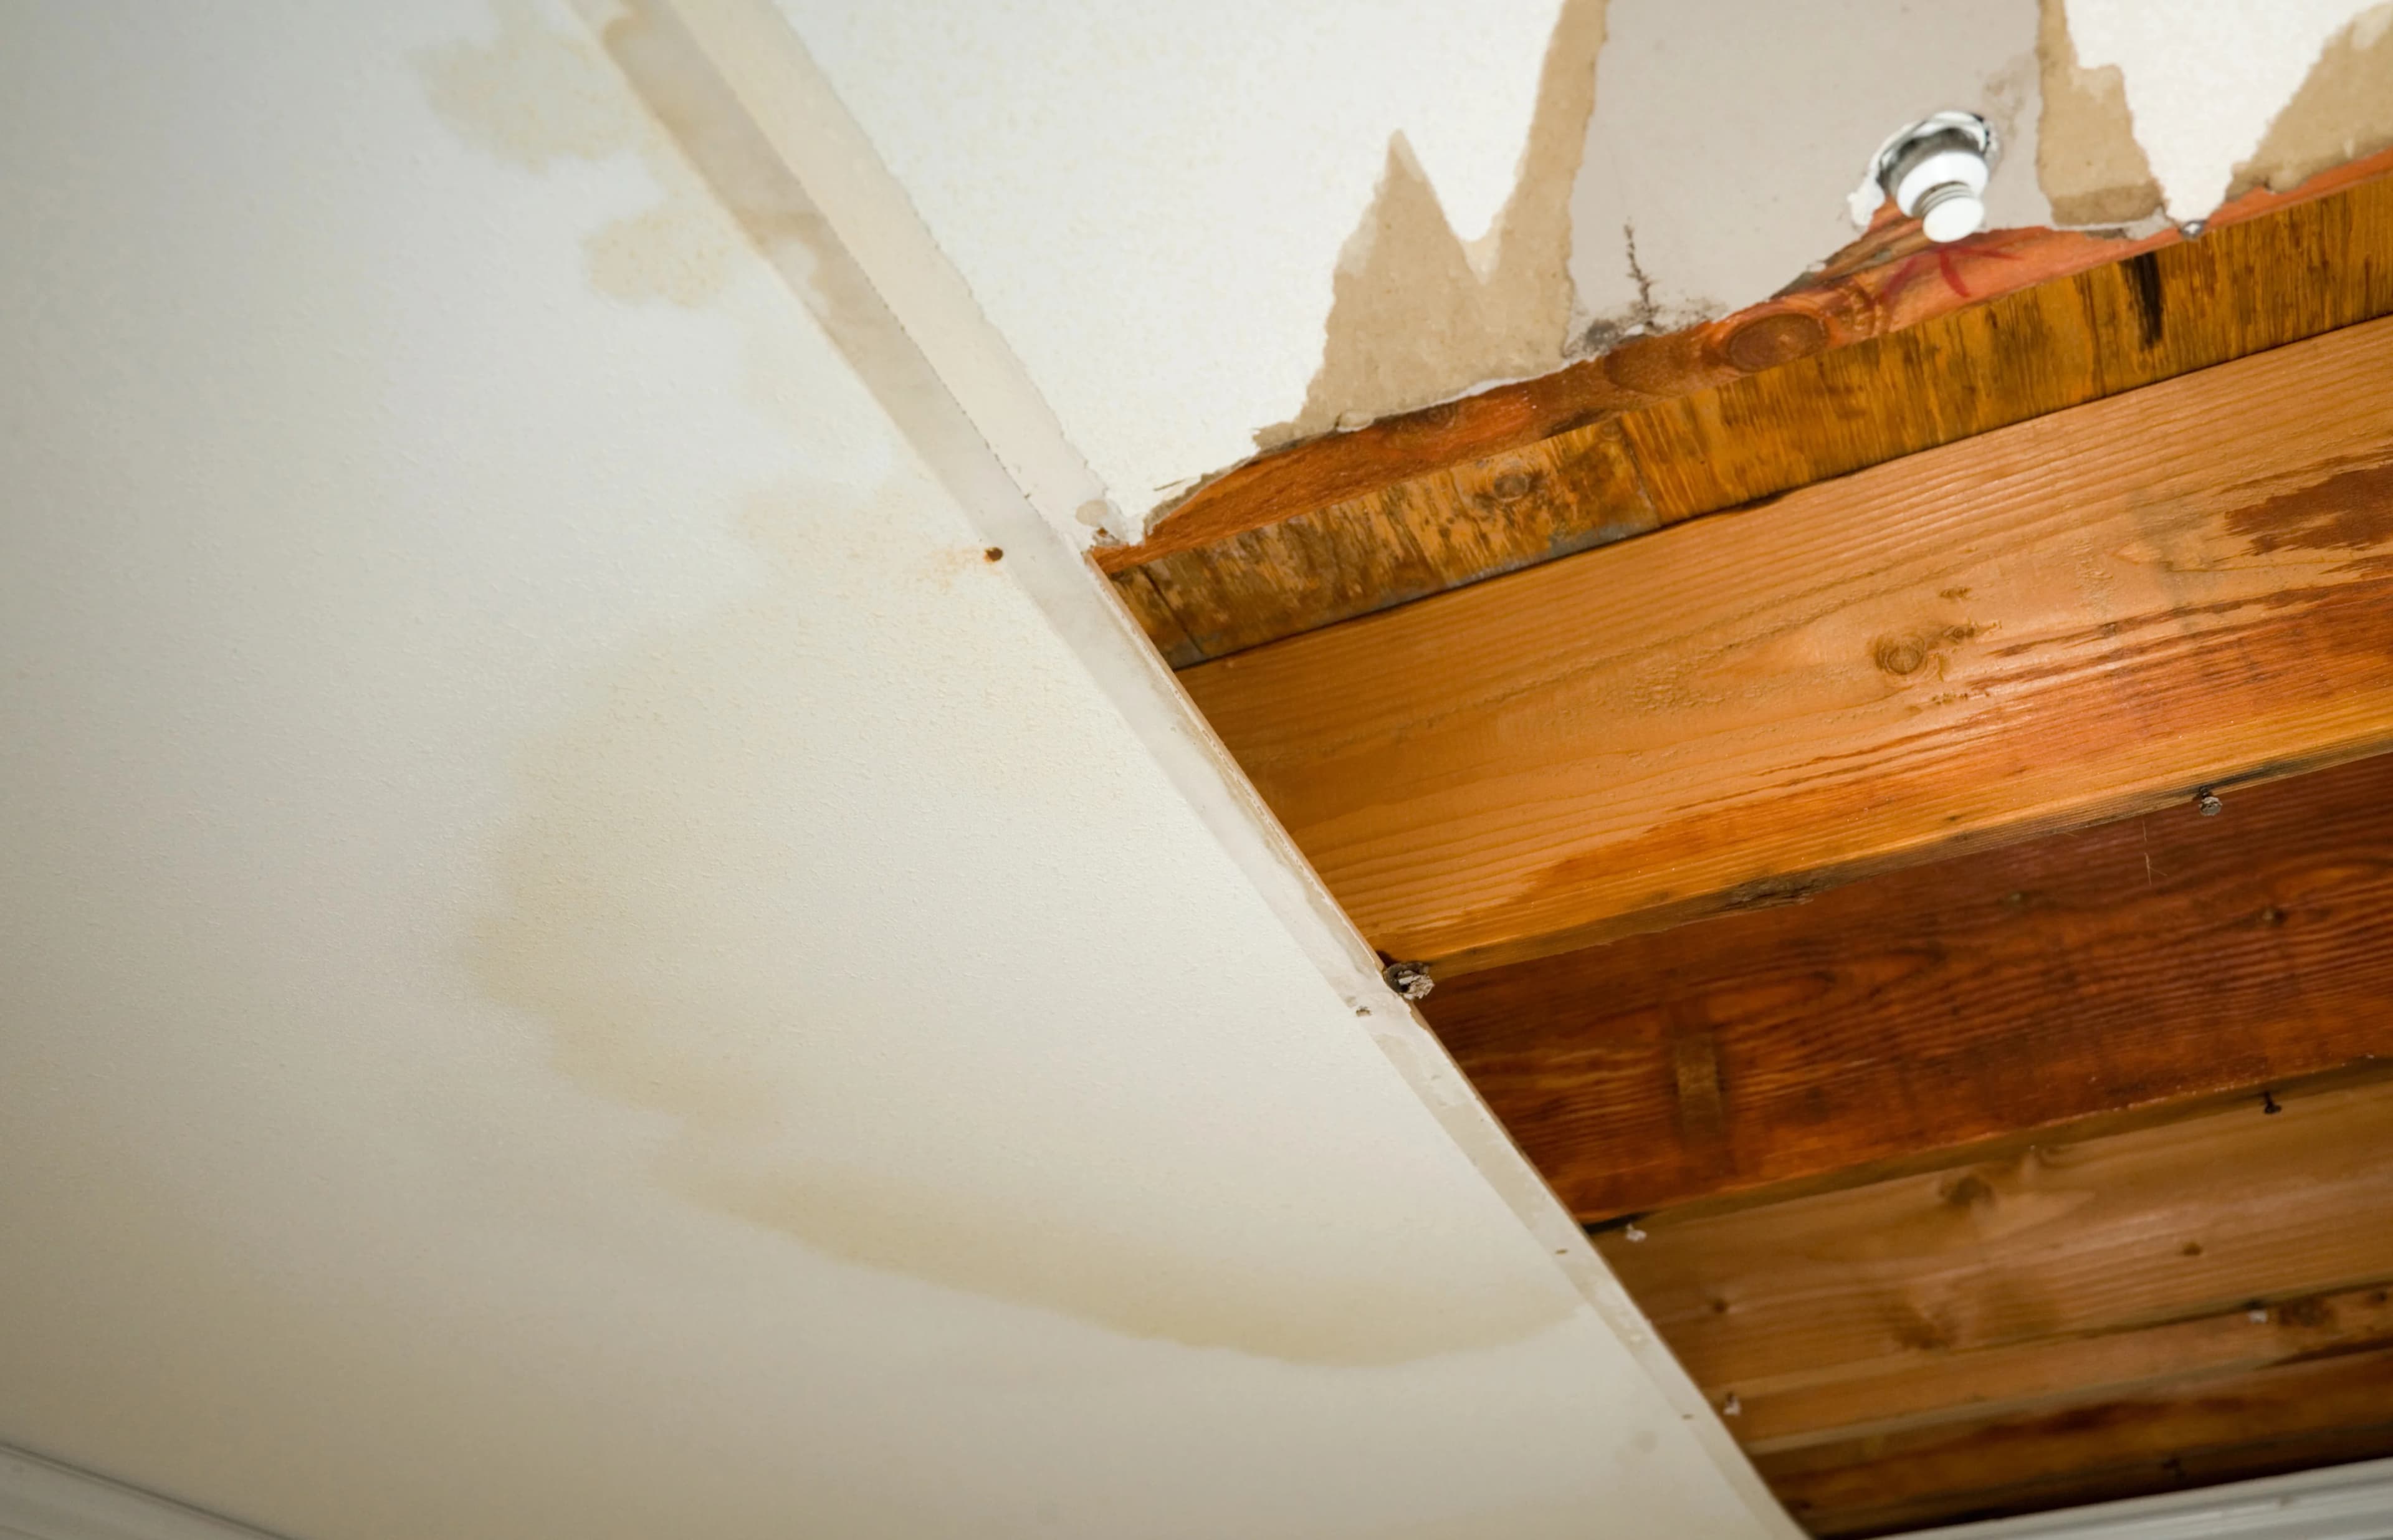
Locating a leak requires immediate action to limit water damage. Shut off the main water supply valve to stop water flow to the affected line. Shut off the water heater if the leak involves hot water lines, since a dry tank can damage the heating element. Remove standing water with towels, a wet-dry vacuum, or a pump to limit absorption into flooring and drywall. Photograph the affected area before cleanup begins to document the damage for an insurance claim. Contact a plumber to repair the source of the leak and a water damage restoration company if flooring, drywall, or insulation has absorbed water.
How to Prevent Water Leaks in Your Home?
Preventing water leaks involves three practices: routine inspections, pipe insulation, and water pressure monitoring. These practices reduce the likelihood of pipe failure and catch developing leaks before they cause significant damage.
Regular Plumbing Inspections
A regular plumbing inspection checks supply lines, fittings, and appliance connections for corrosion, wear, or moisture before a leak develops. Inspect exposed plumbing under sinks and around the water heater at least twice a year, and replace appliance supply hoses every five years regardless of visible condition, since rubber hoses degrade internally before showing external damage.
Insulate Exposed Pipes
Insulating exposed pipes reduces the risk of freeze-related cracks and bursts in unheated spaces such as basements, garages, and exterior walls. Foam pipe sleeves fitted around exposed sections limit temperature swings that cause metal and plastic pipes to expand, contract, and eventually crack.
Monitor Water Pressure
Monitoring water pressure prevents the stress that leads to fitting failures and pipe bursts. Household water pressure should stay between 40 and 80 pounds per square inch (psi); a pressure gauge attached to an outdoor spigot confirms the current level. A pressure regulator installed on the main line brings pressure above 80 psi down to a safe range.
When to Call a Water Damage Restoration Professional
Call a water damage restoration professional when a leak has caused visible structural damage, mold growth, or a slab leak beneath the home's foundation. These situations require specialized equipment and repair methods beyond routine plumbing fixes:
- Structural damage: Sagging ceilings, buckled flooring, or weakened framing require structural assessment before repairs proceed.
- Mold growth: Visible mold or a persistent musty odor after cleanup requires professional mold remediation to prevent regrowth.
- Slab leaks: A leak beneath a concrete foundation requires specialized leak detection equipment and slab leak repair methods, since the pipe is inaccessible without foundation work.
- Extensive water intrusion: Standing water covering a large area or water that has soaked through multiple flooring layers requires industrial drying equipment to prevent secondary damage.
A restoration professional documents the damage for insurance purposes, removes affected materials, and dries the structure to prevent long-term moisture problems.
Need Emergency Restoration Help Today?
Call Apex Damage Restoration now for fast priority dispatch across Aurora, CO, a written estimate before work begins, and direct insurance claims assistance.